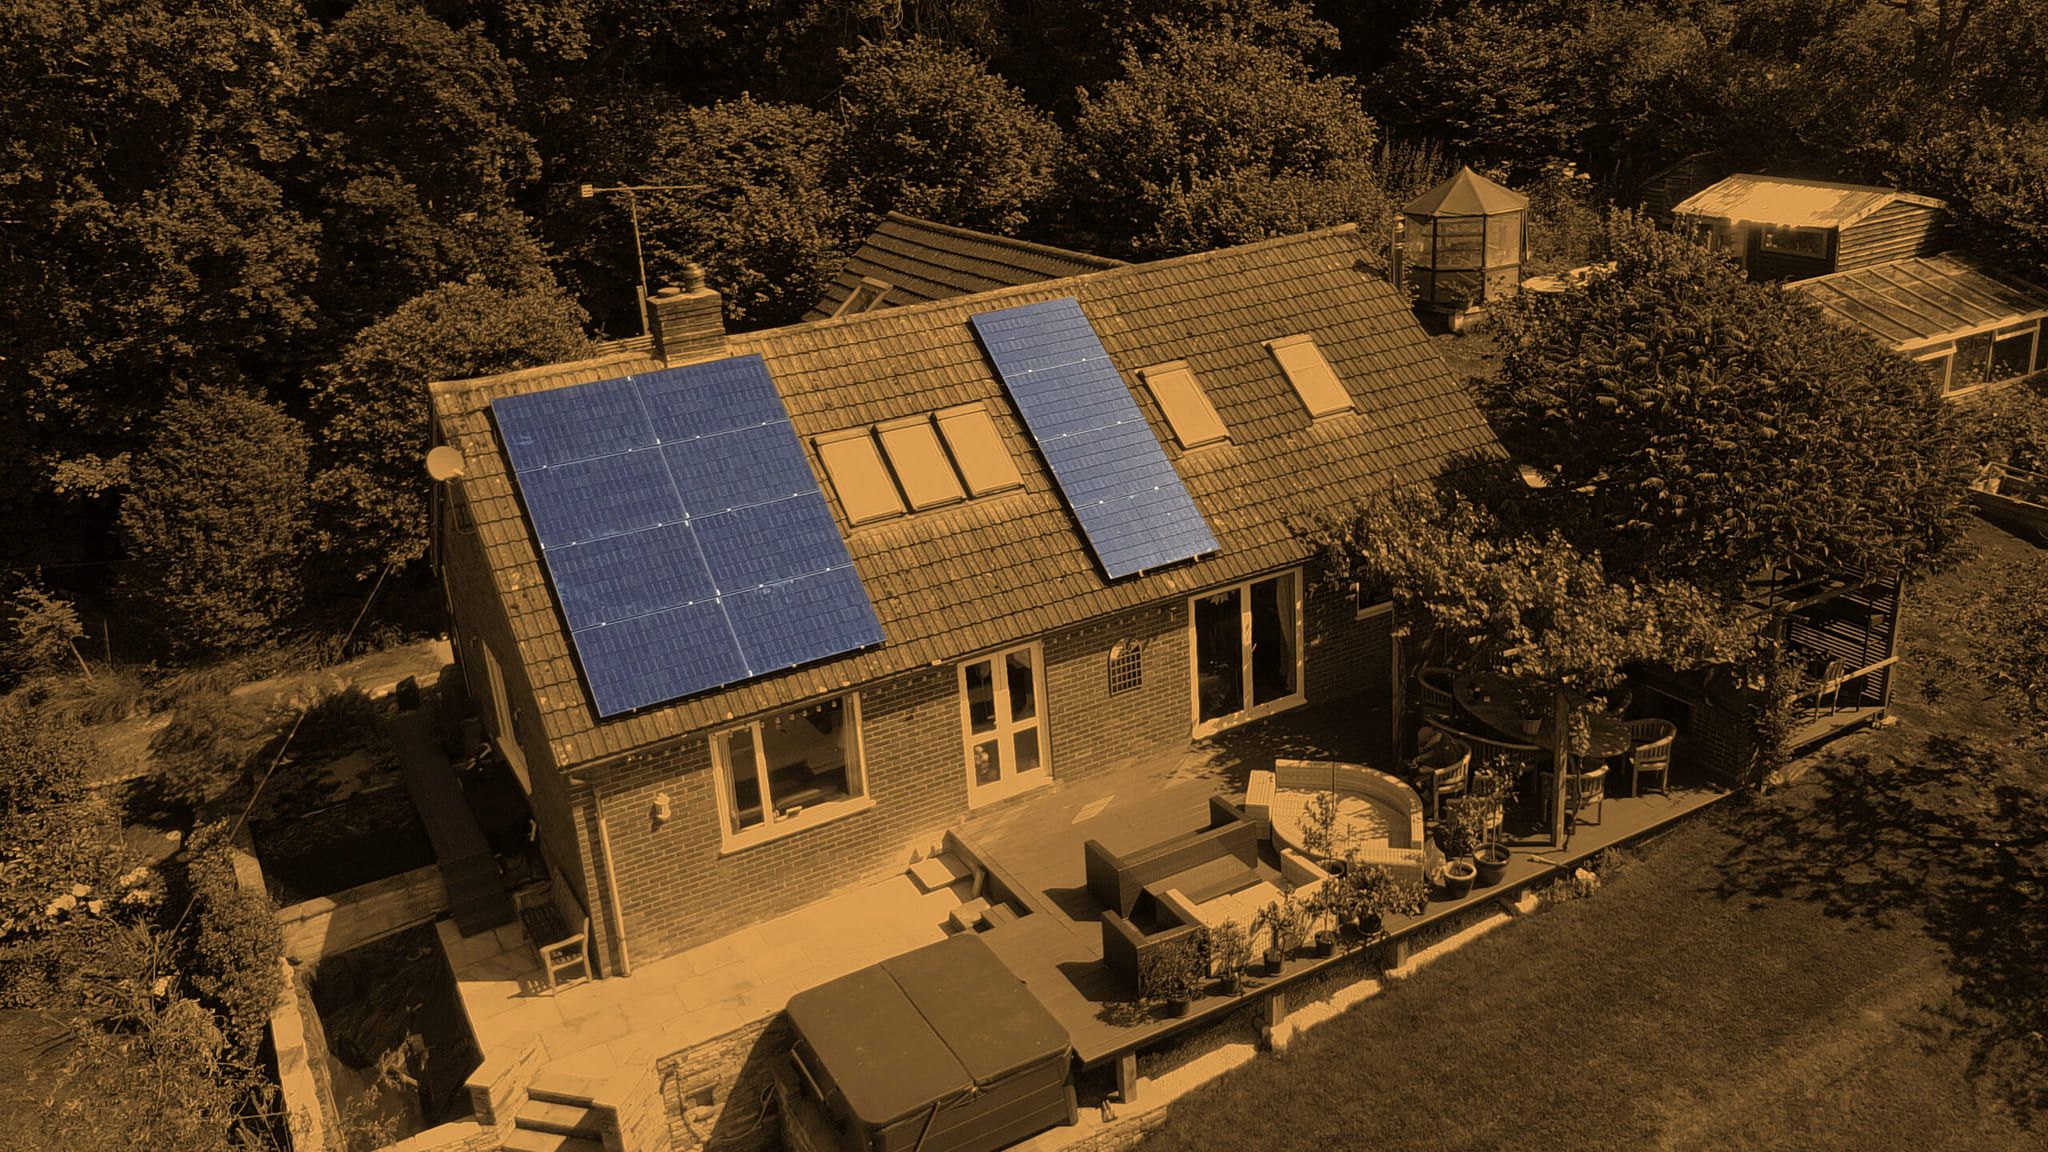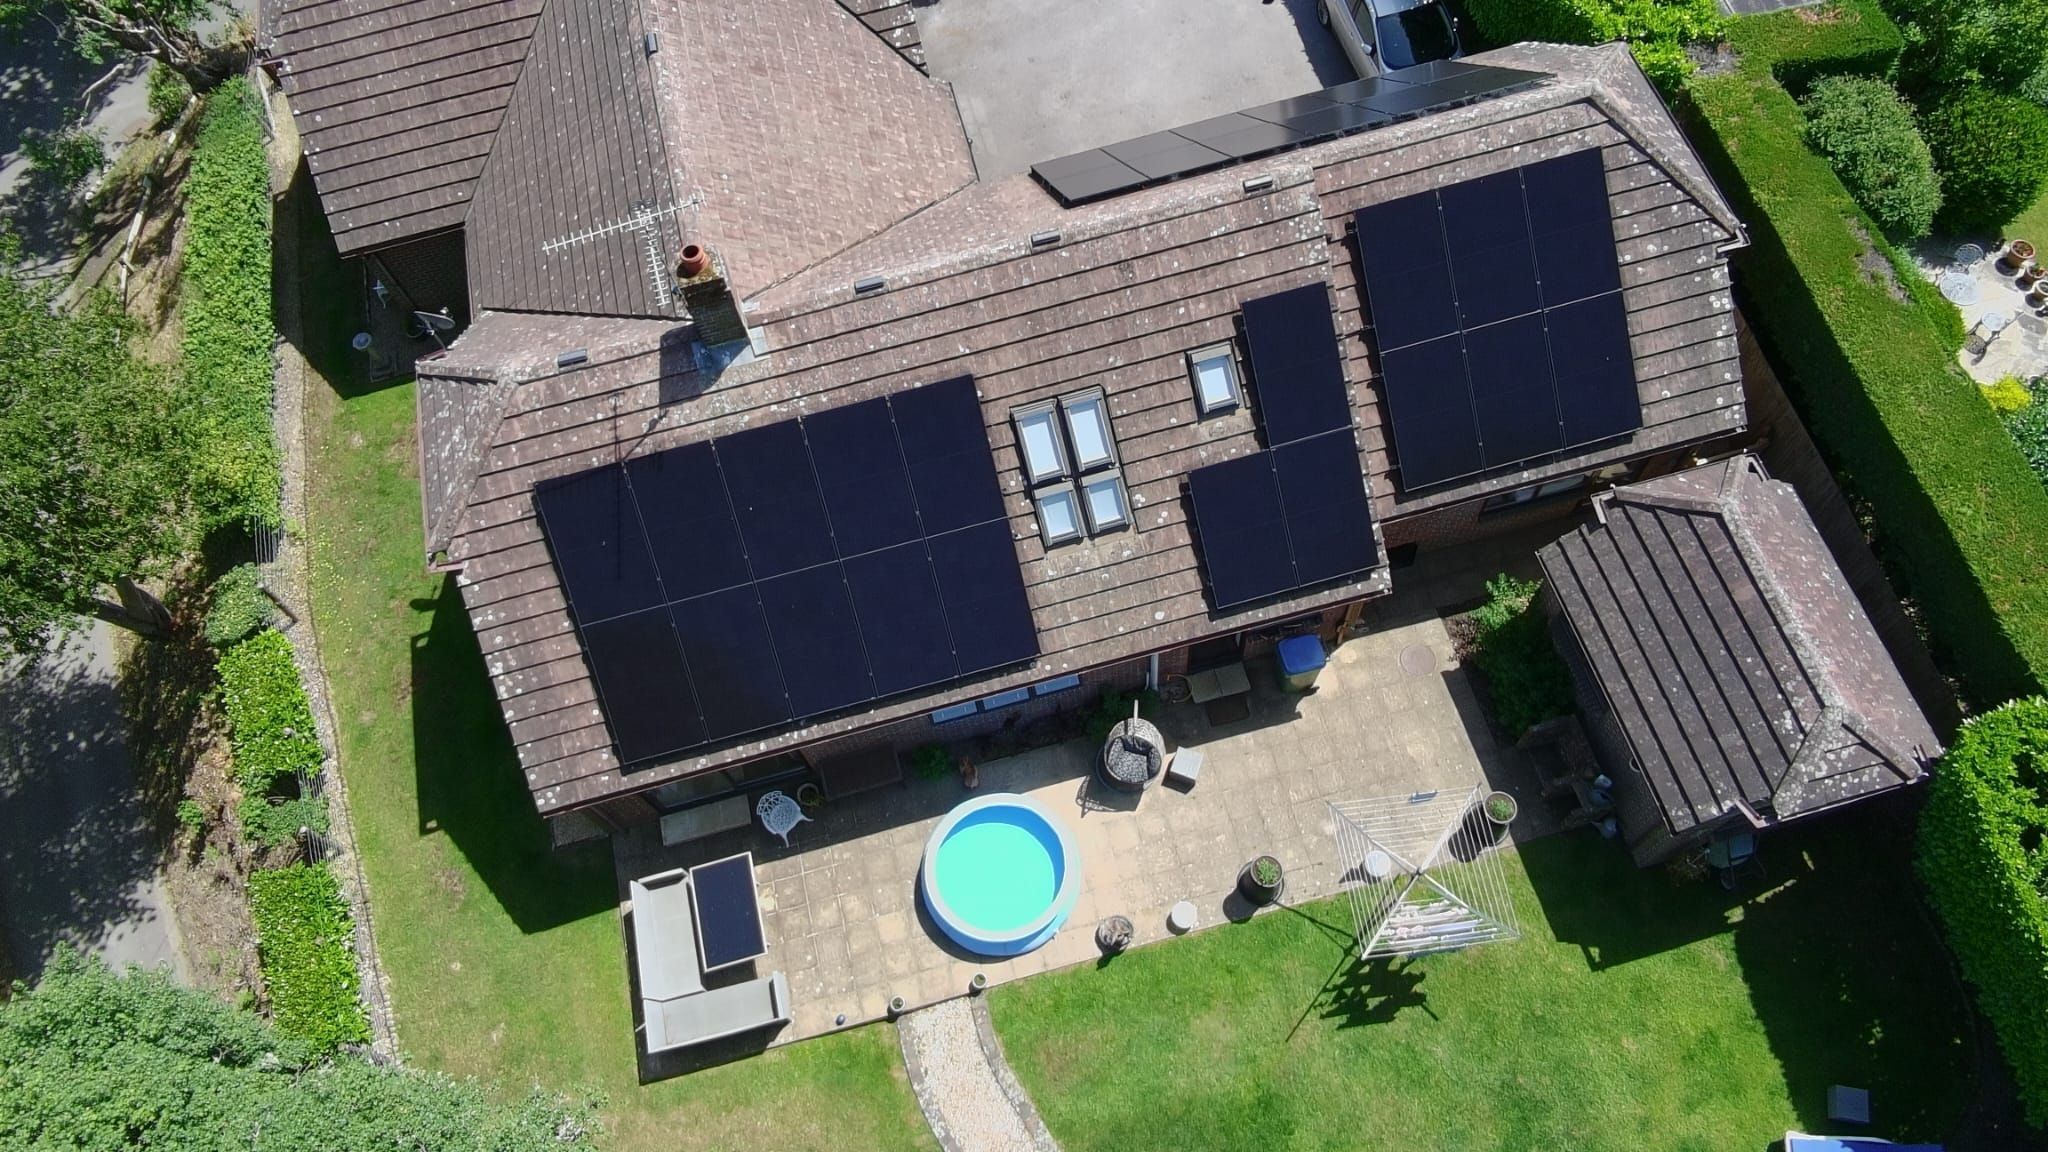

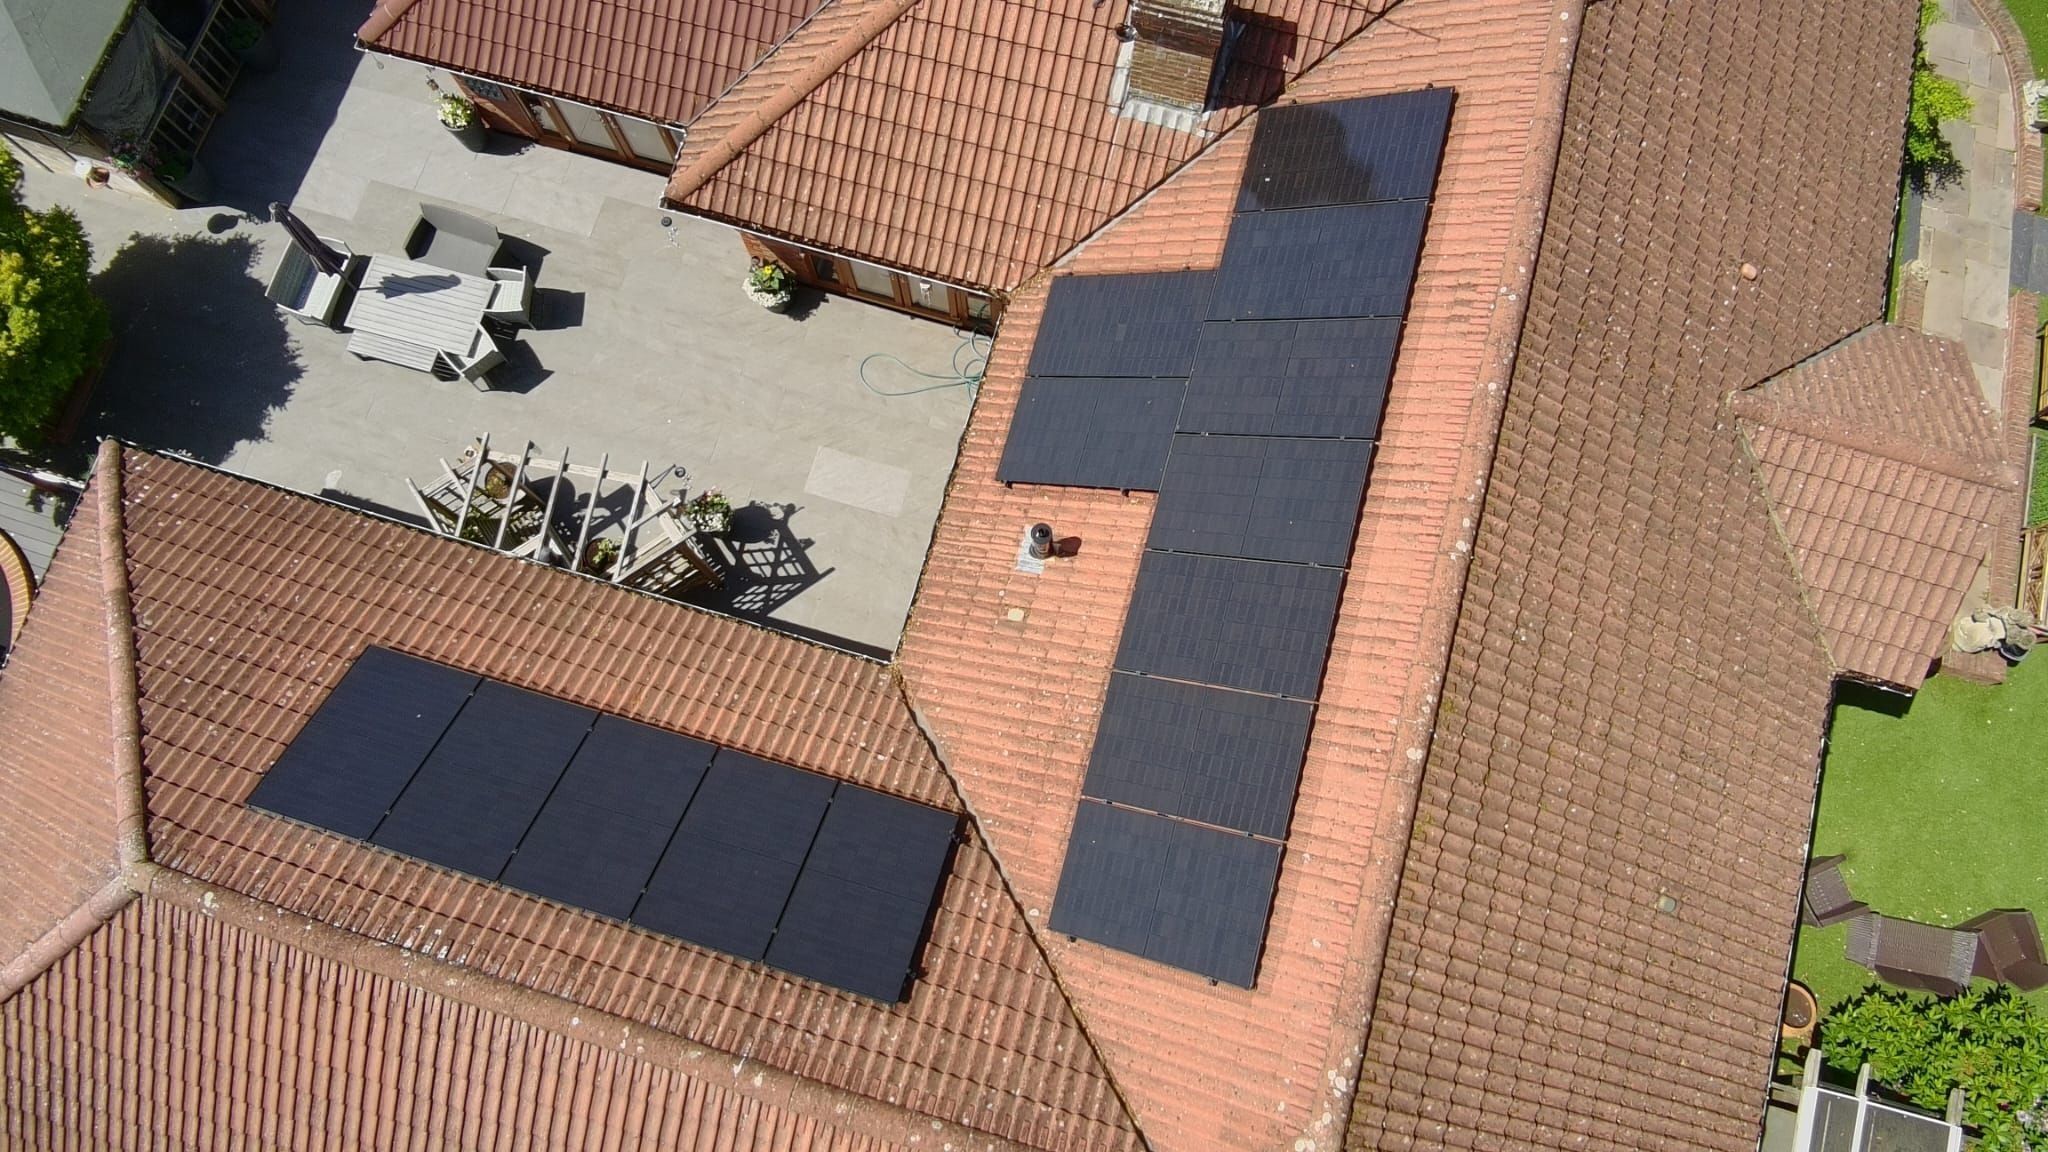
Aerial view of a courtyard bungalow with all-black arrays on several roof slopes

Pictures we're rather proud of

The work, without the captions we can't back up

Every photograph here is our own. None of them carries a customer name, a town or a date — because we cannot verify those, and a gallery that implies them is just a fabricated portfolio with better lighting.

Fifteen frames

Look at the edges, not the middle

Anybody can photograph a roof full of panels. What tells you who fitted it is the setting-out, the perimeter, and where the switchgear ended up — so each of these says what is actually worth noticing in it.
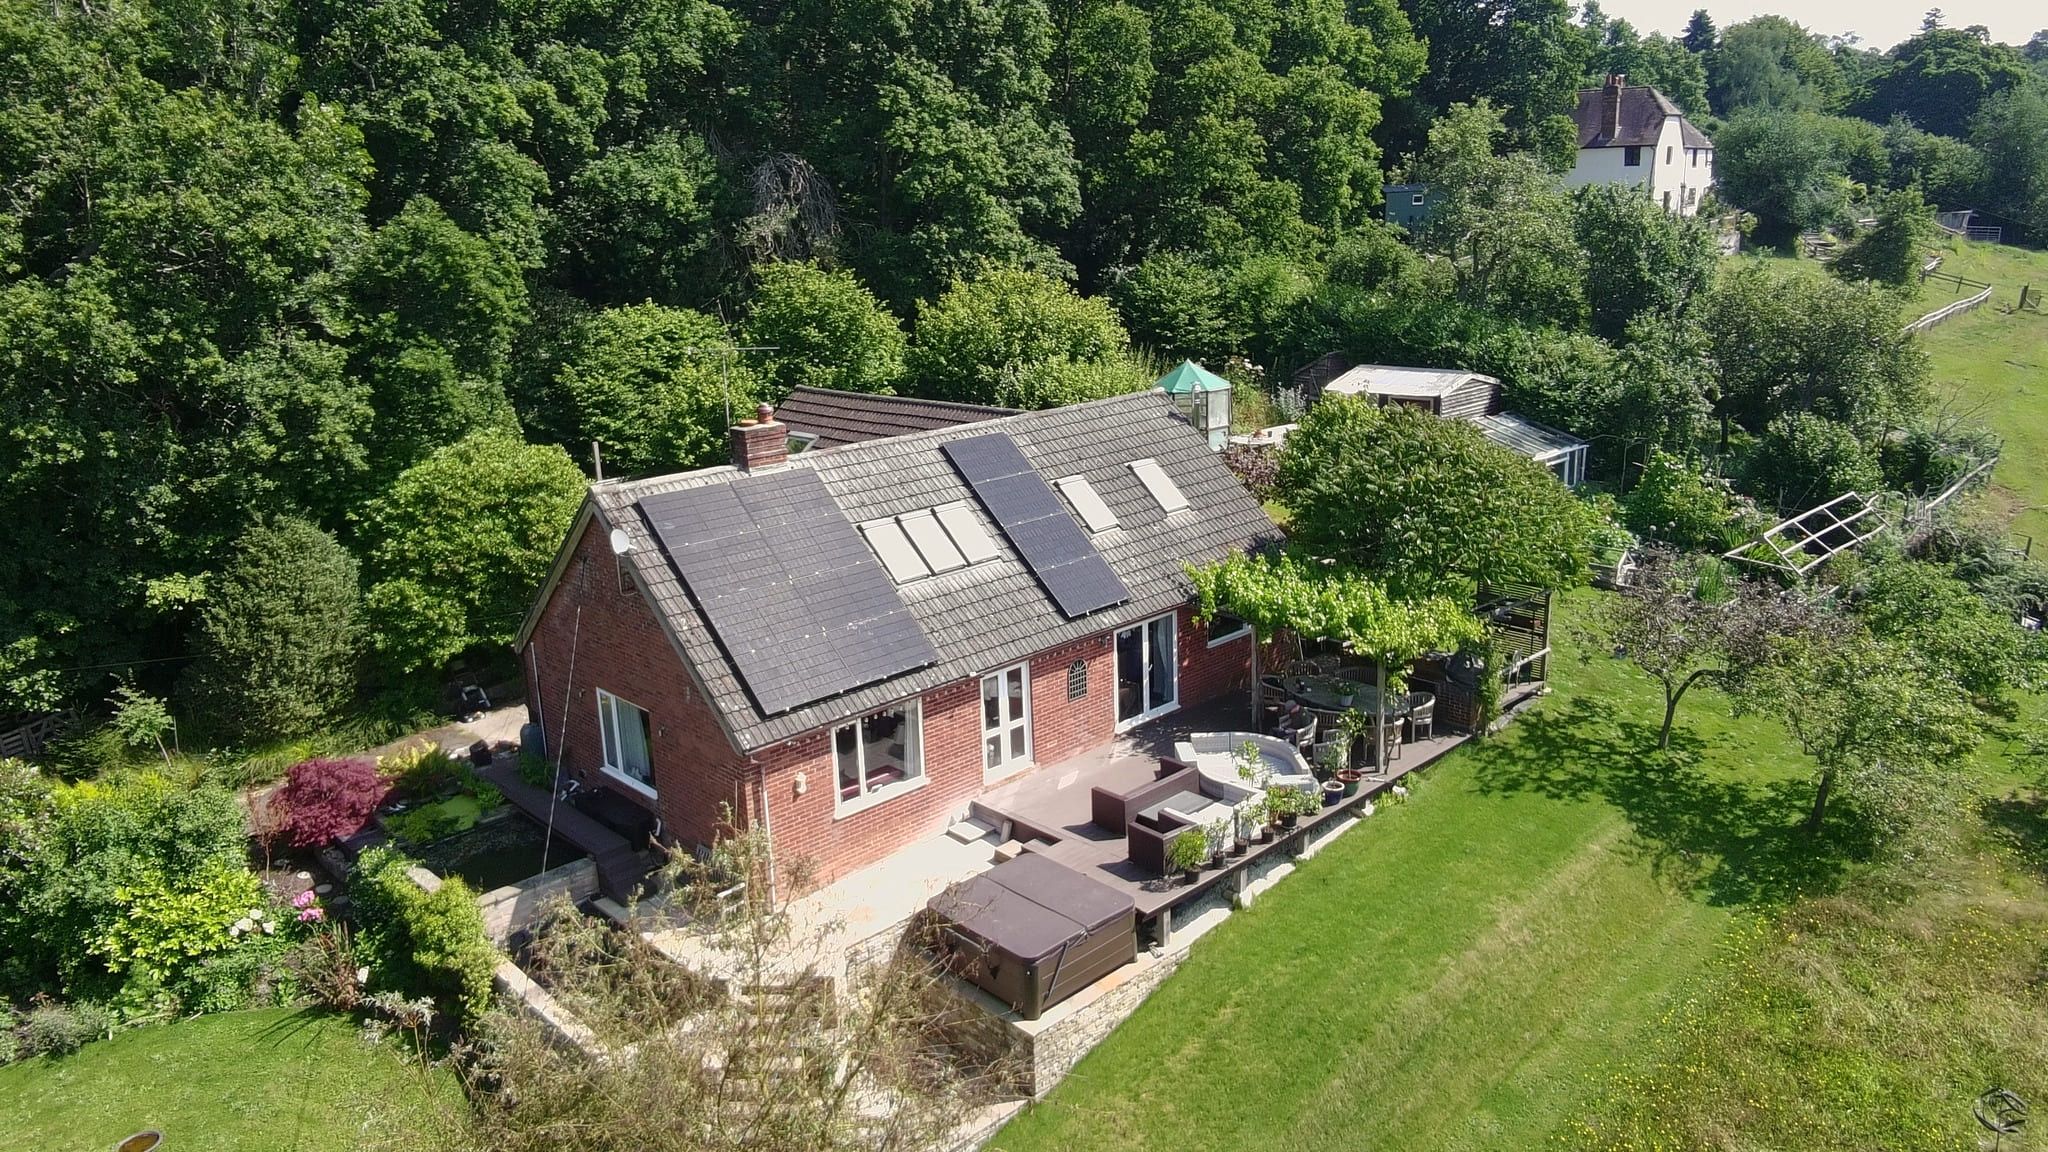
Aerial view of a brick bungalow with two solar arrays in a Sussex garden
Rooftop array, seen from above The view a survey drone gets before anything is designed — shading, chimney positions and the state of the covering all read from up here in a way they never do from the ground.
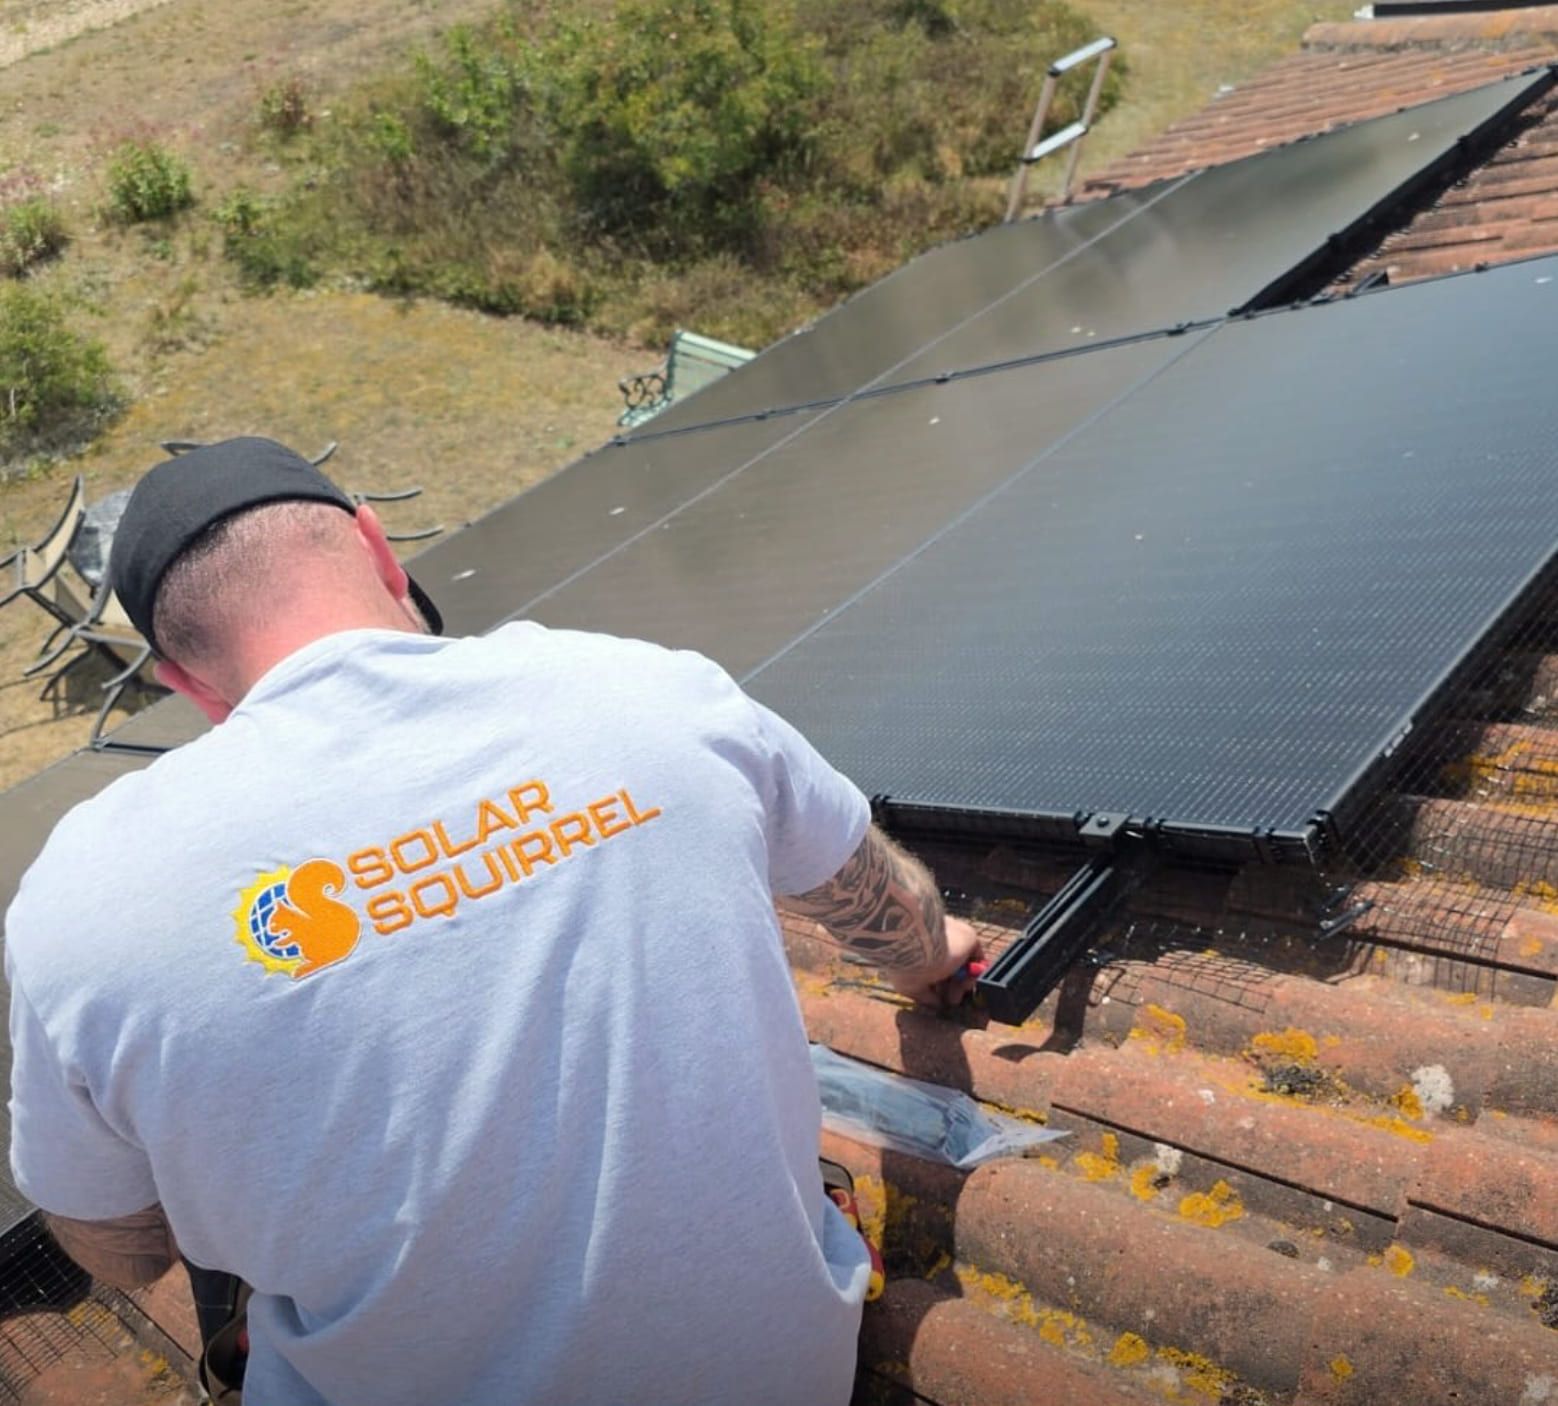
An installer fitting all-black solar panels to a tiled roof
All-black array on clay tile Set out to the tile course, full rows, no orphan panel hanging off the end. Costs nothing but care on the day, and it is most of why a finished array looks deliberate.
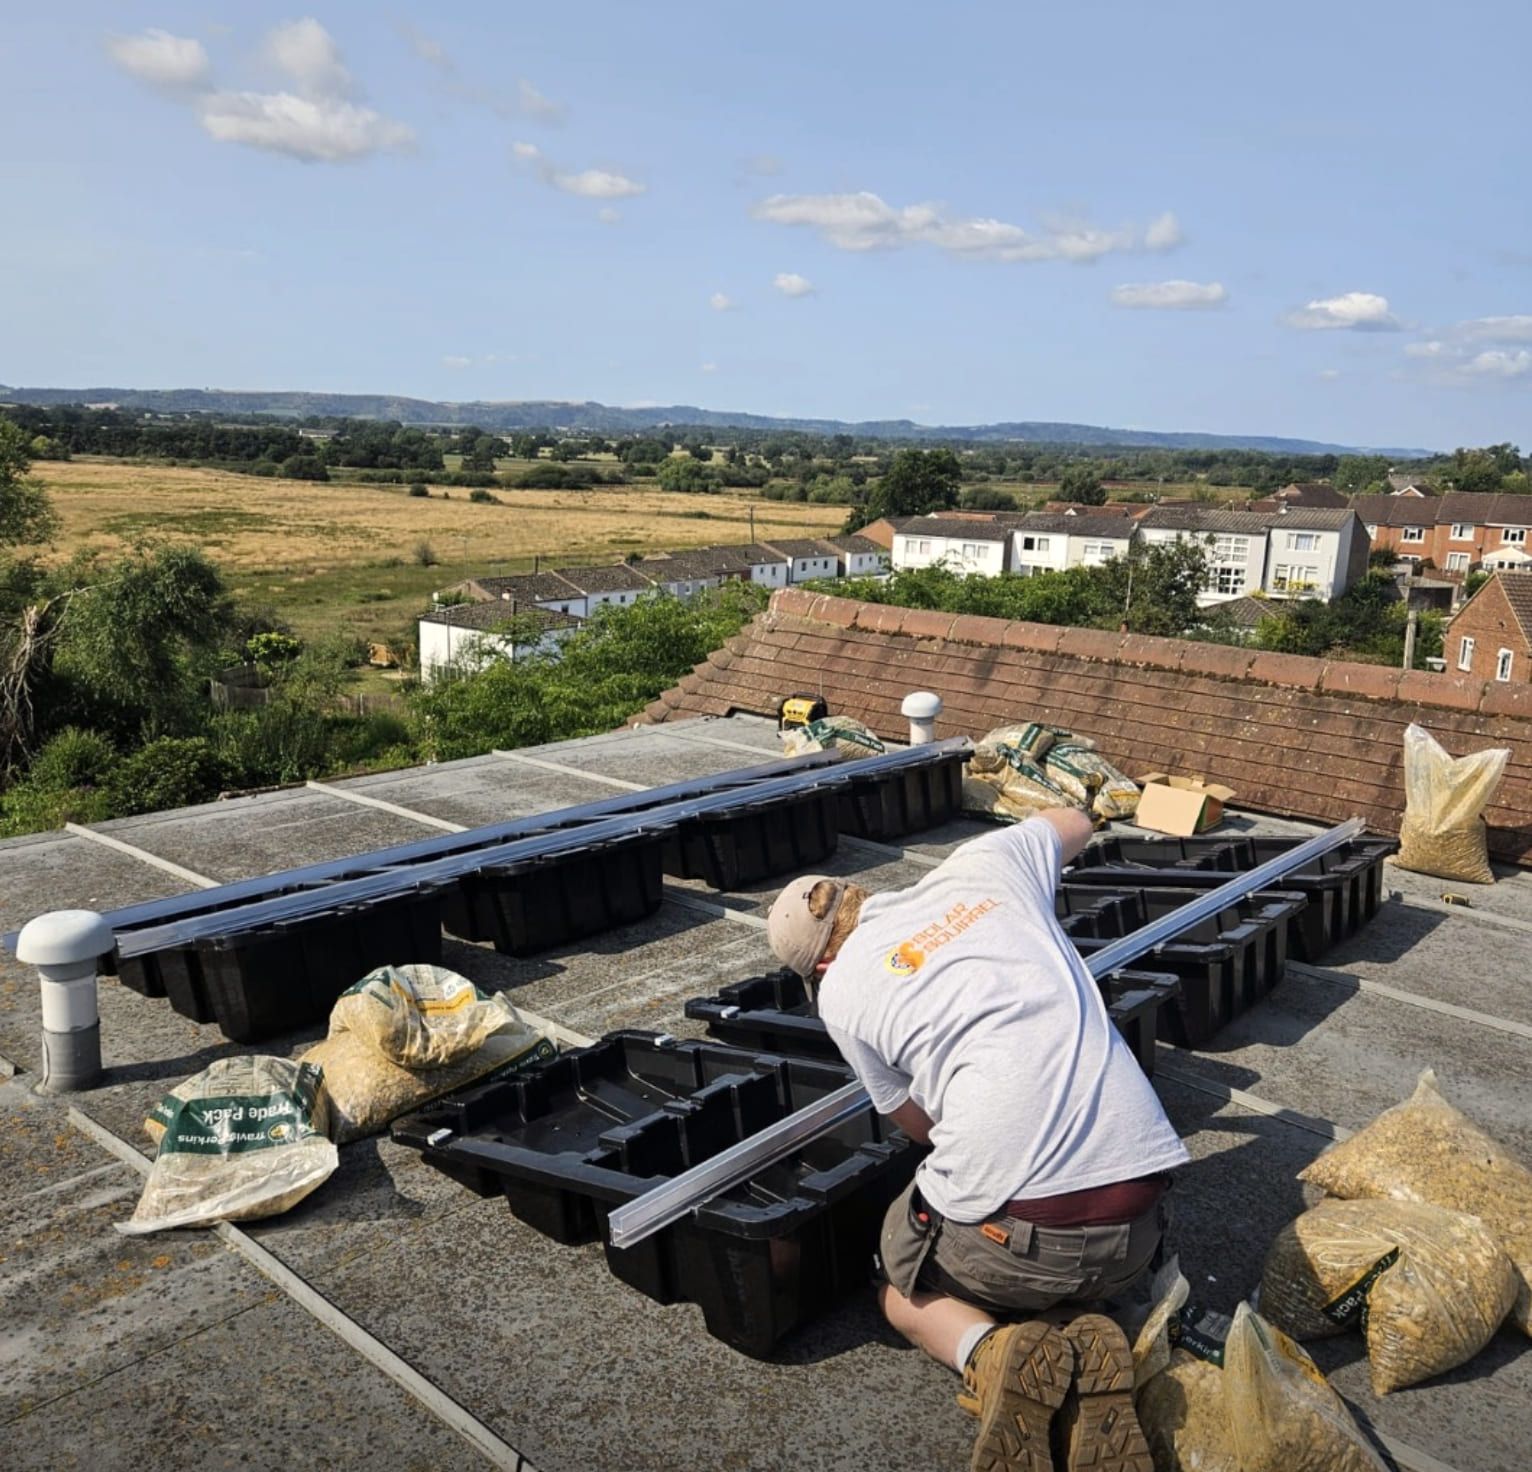
Mounting trays set out on a flat roof with fields beyond
Ballasted flat-roof system Trays sitting on the covering, weighted rather than screwed through it. Nothing penetrates a flat roof, which is exactly what you want on a flat roof.
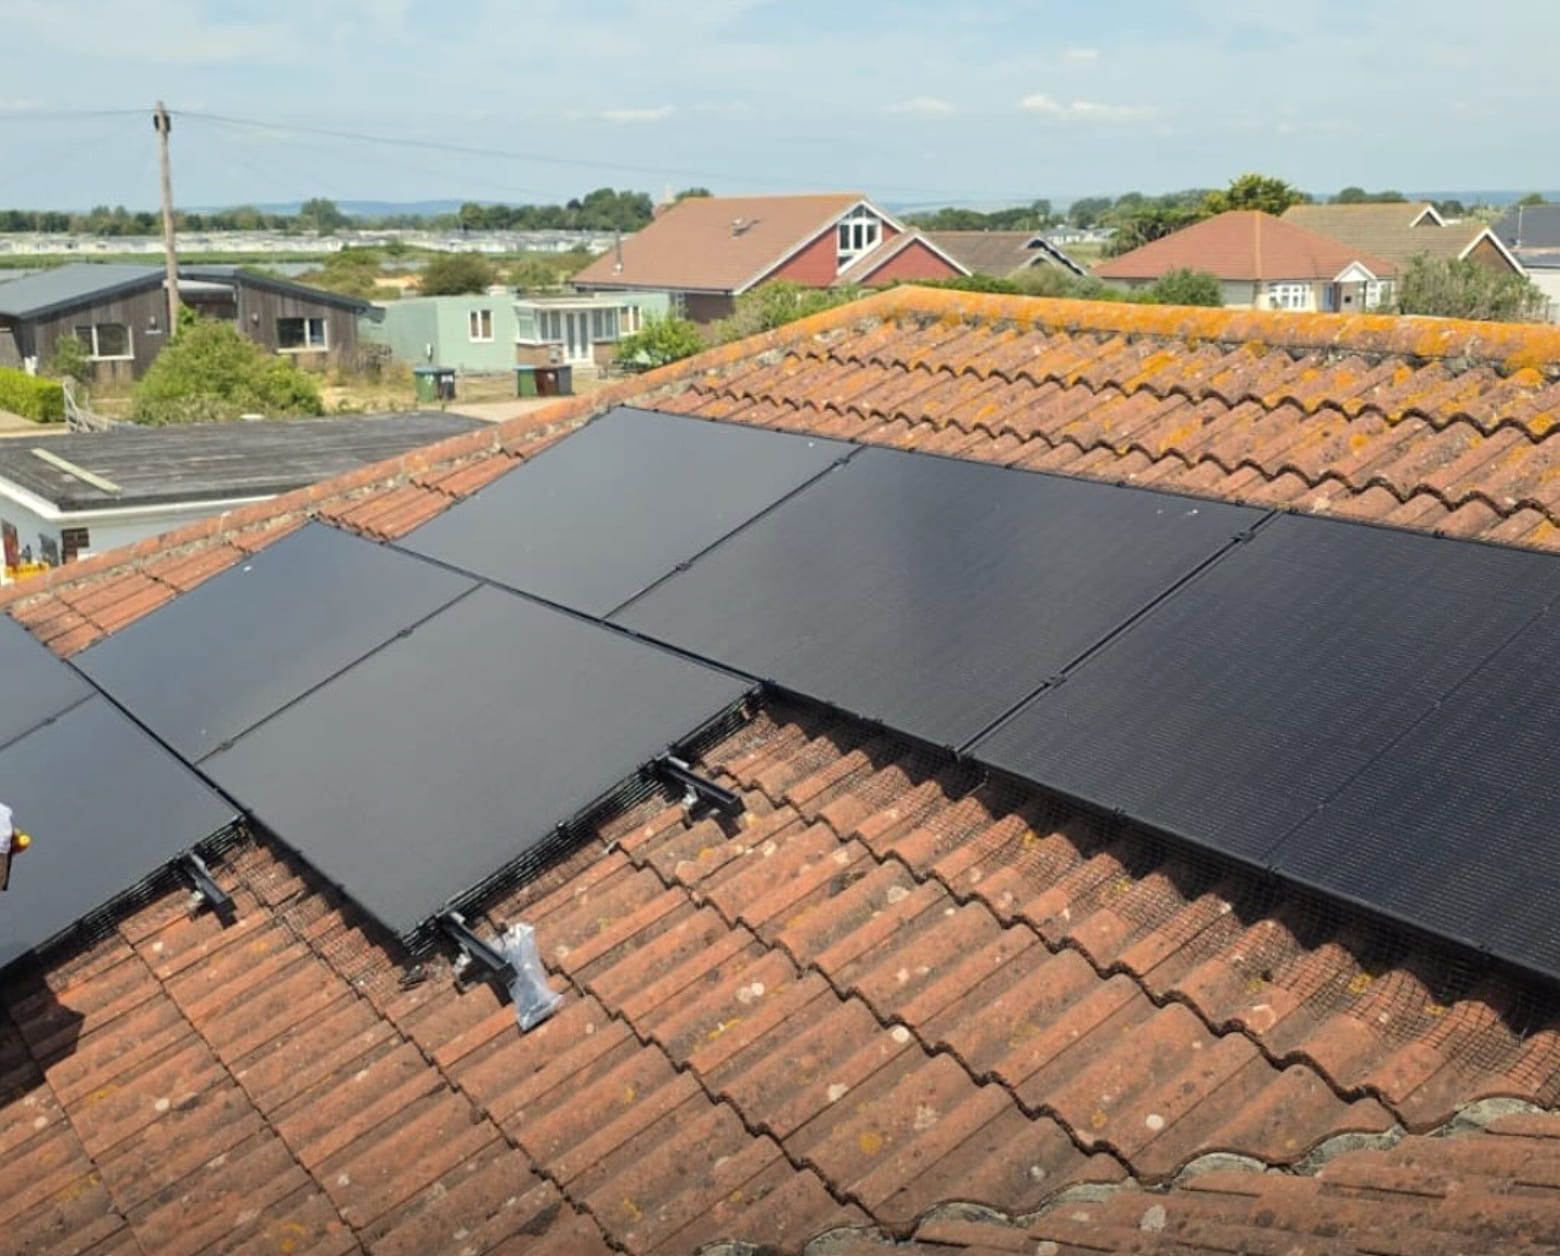
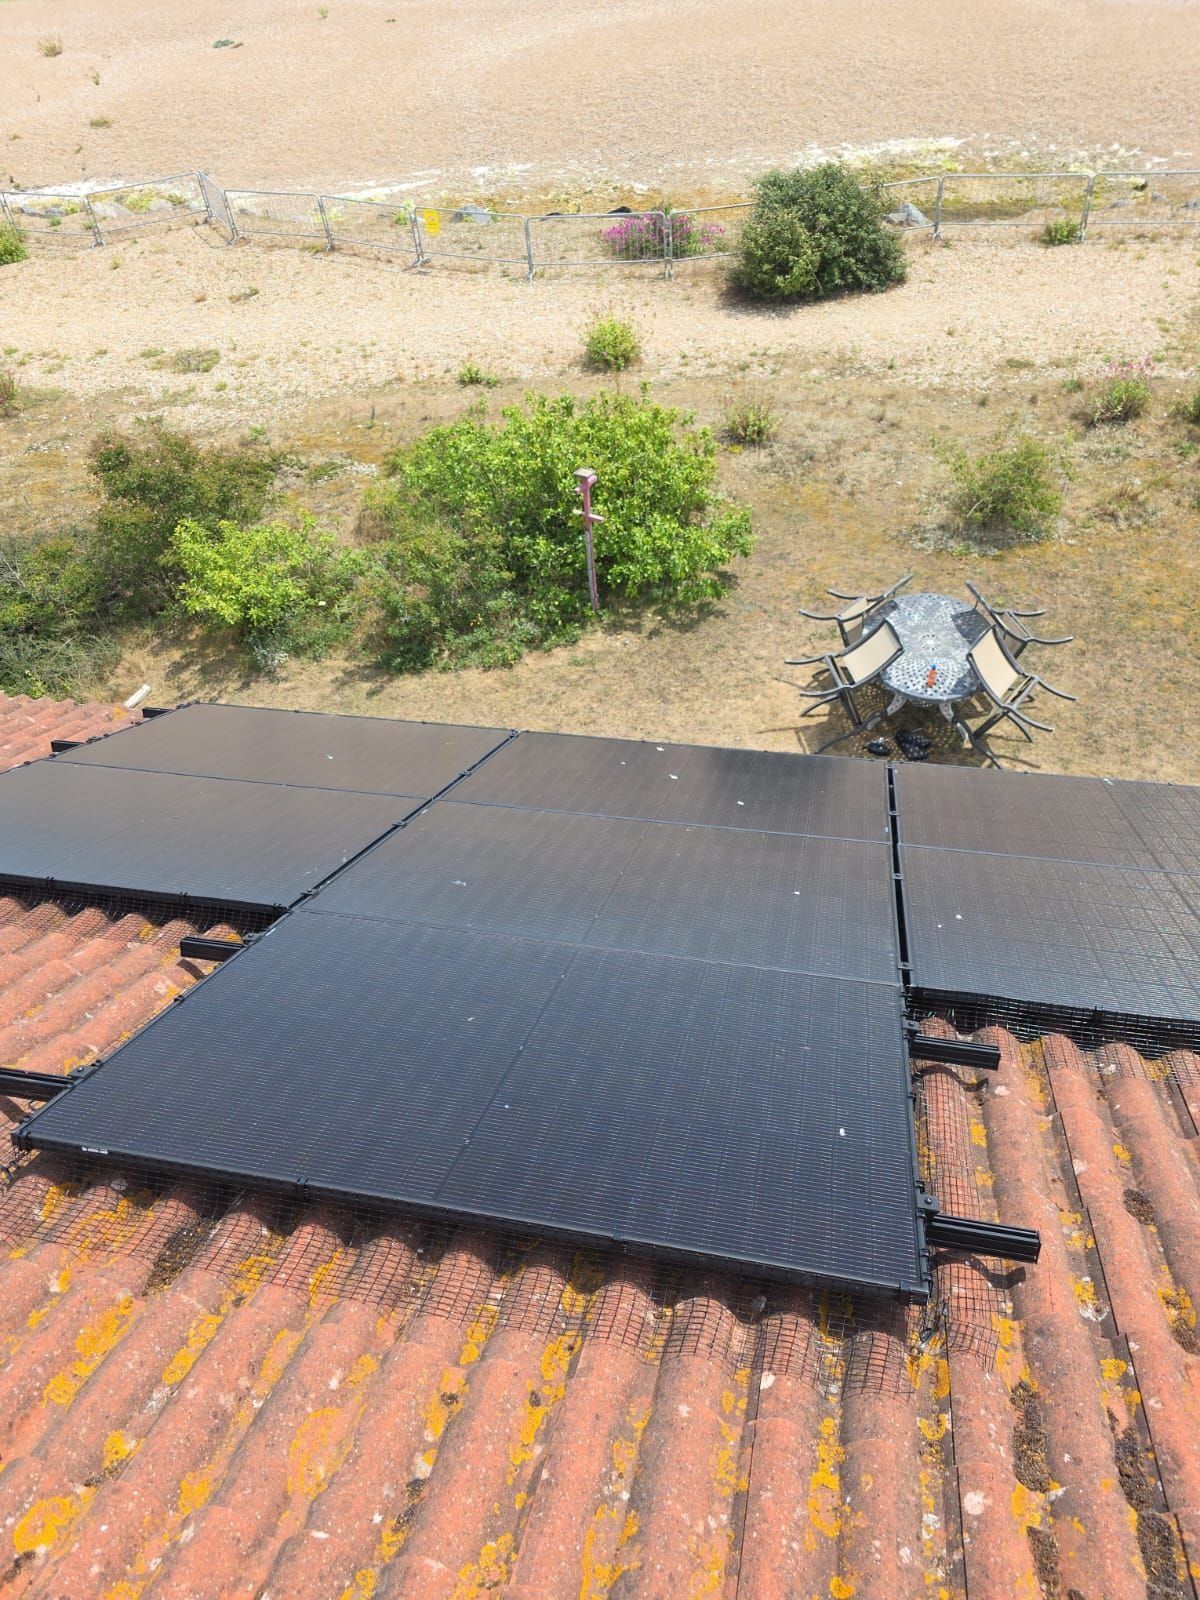
All-black solar panels on a red-tiled roof with rooftops beyond
All-black array, coastal outlook Black frame, black backsheet. From the pavement it reads as a darker panel of roof rather than a grid of silver lines.
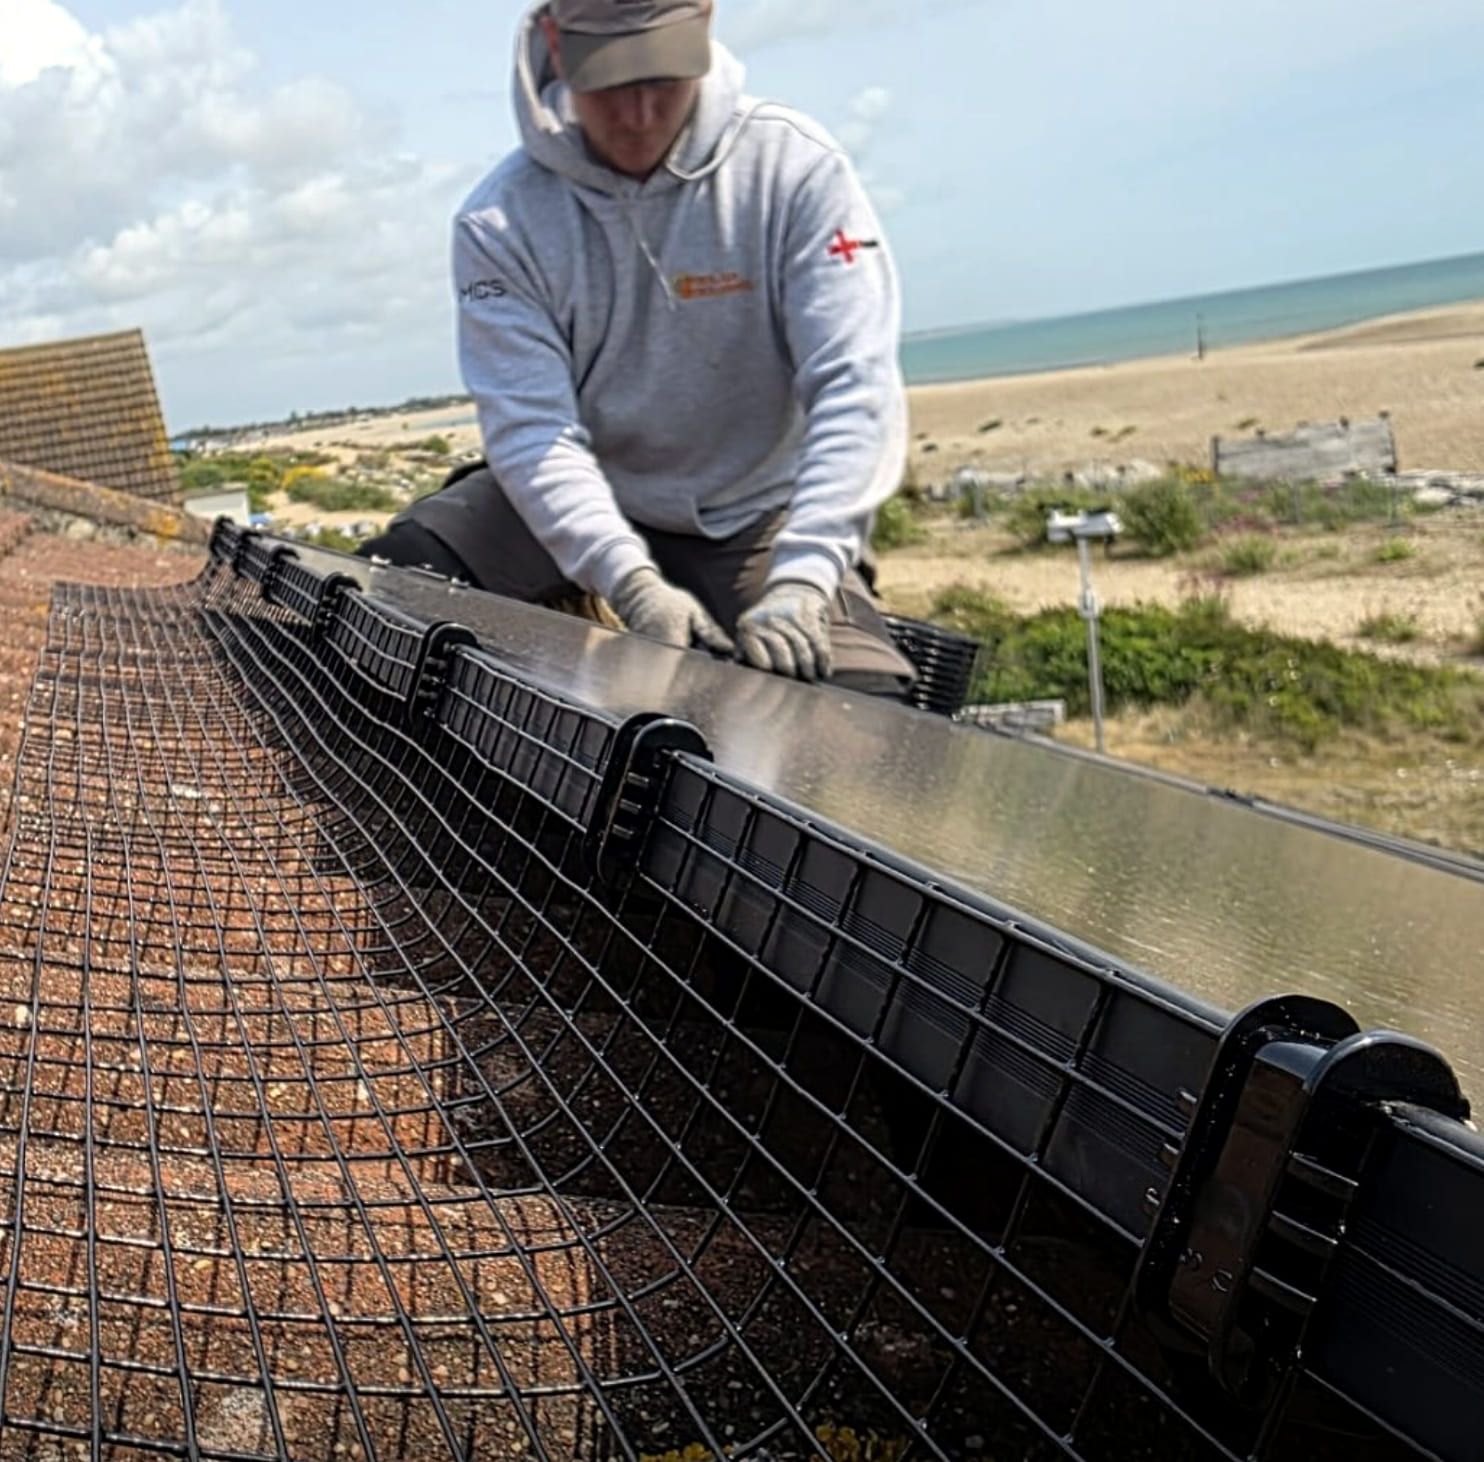
Bird mesh being fitted along the edge of a solar array with the sea beyond
Bird mesh along an array perimeter Clipped to the panel frame, not screwed into the tiles, and fitted while the scaffold is already up. Pigeons find the gap under an array remarkably quickly.
Aerial view of a house with two solar arrays
Two arrays on a single roof Two separate planes, worked as one system. Splitting an array across two aspects is often how a roof that “faces the wrong way” turns out to be perfectly workable.
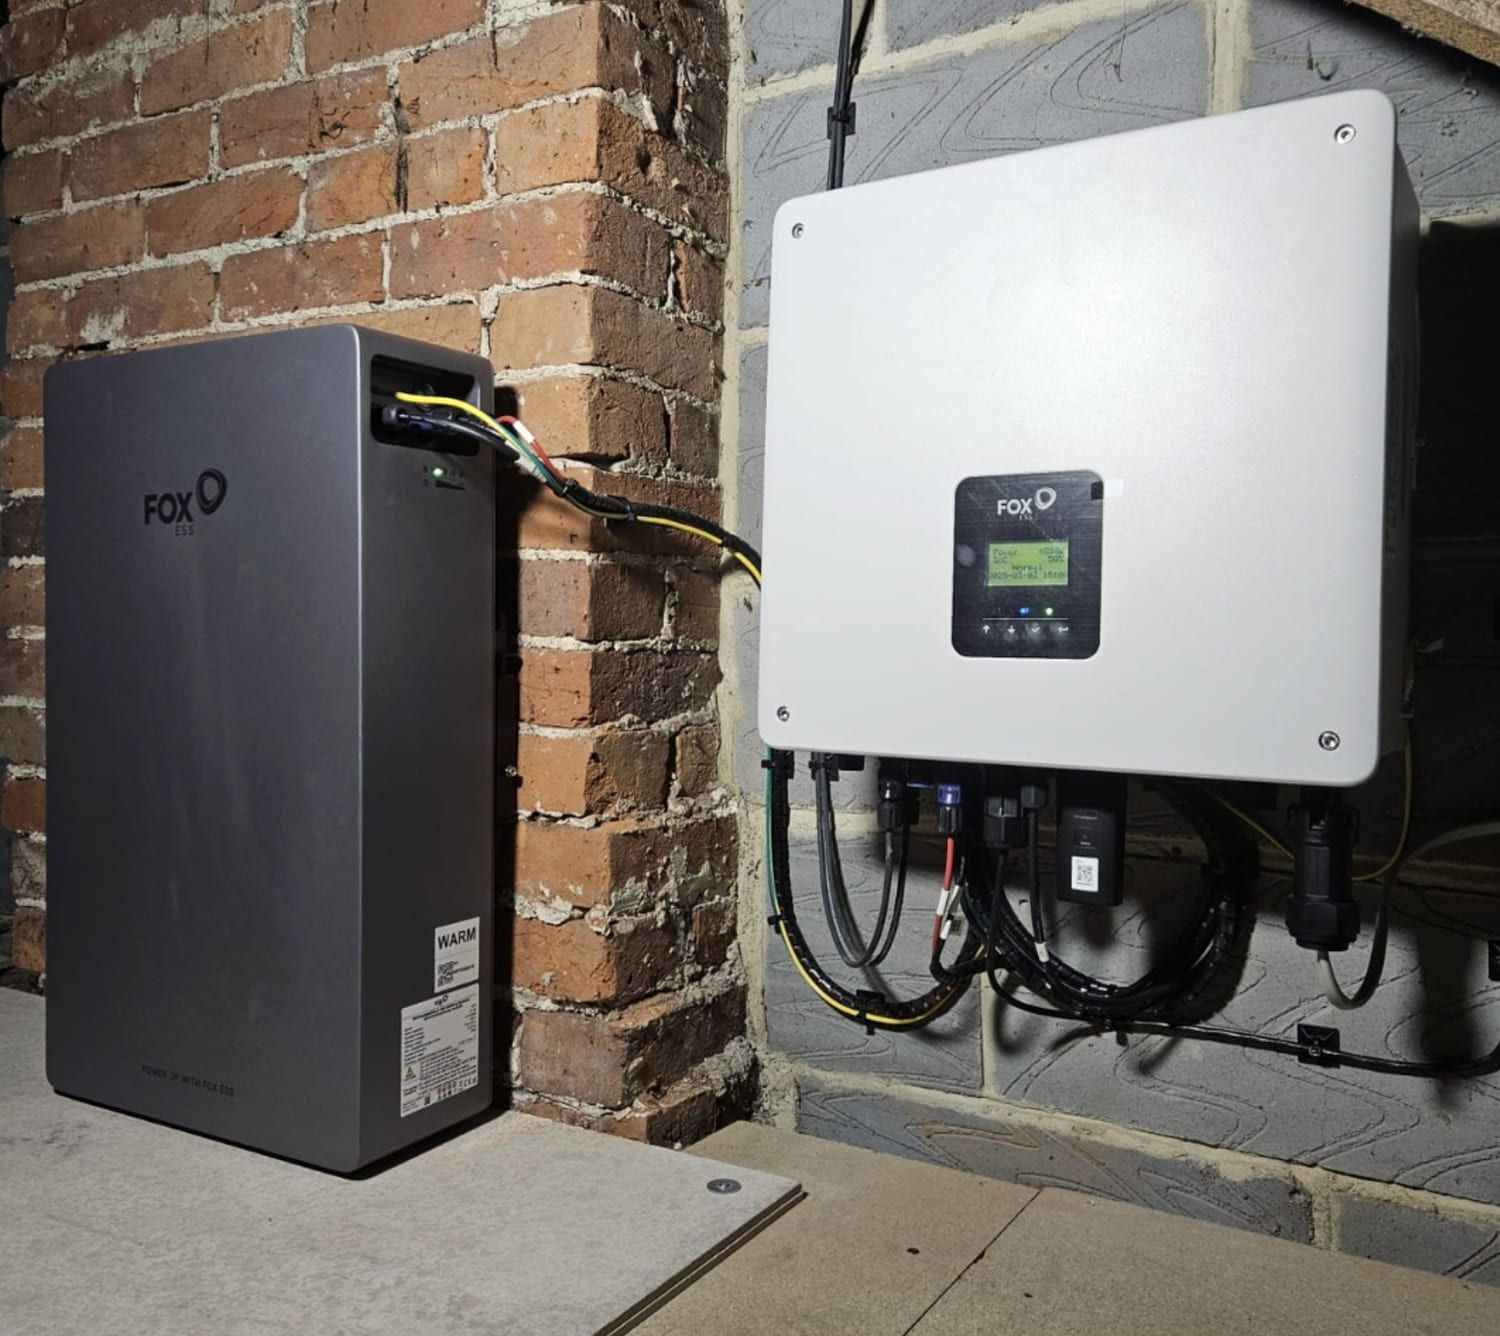
A battery and inverter installed on a brick wall
Battery and inverter, wall-mounted Battery and inverter from the same maker, on an internal brick wall, with the isolators where a hand can reach them. This is the photograph the Fox ESS page is built on.
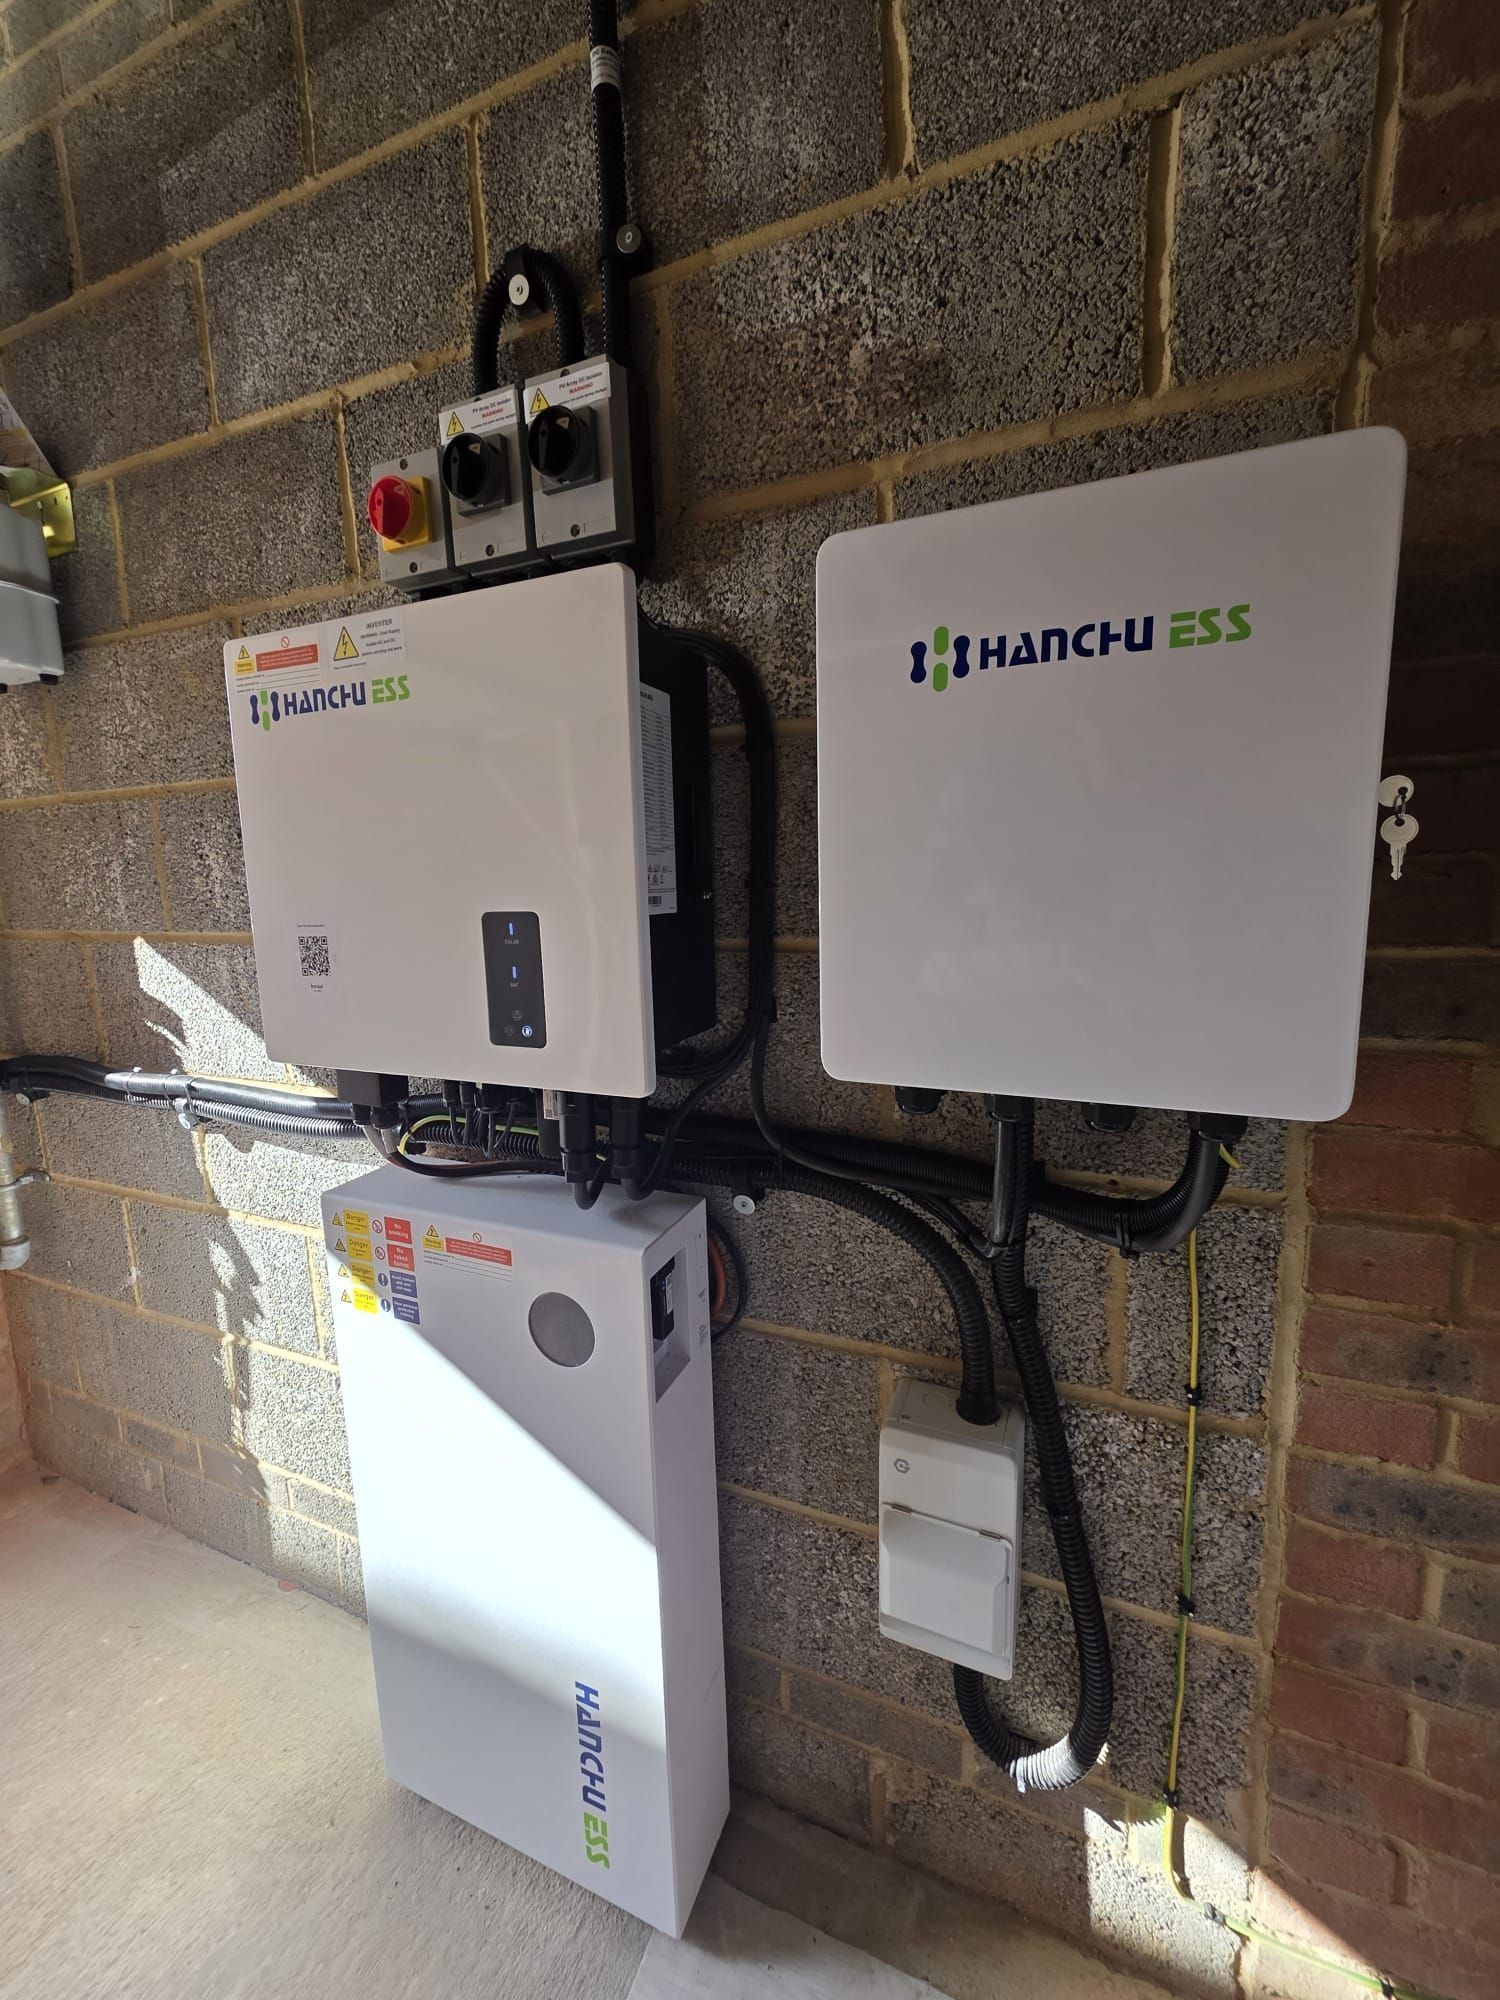
A Hanchu ESS hybrid inverter, gateway and battery installed on one wall
Hanchu ESS, inverter to battery Isolators above the inverter, the battery standing beneath it, and every cable run in conduit rather than left to hang.
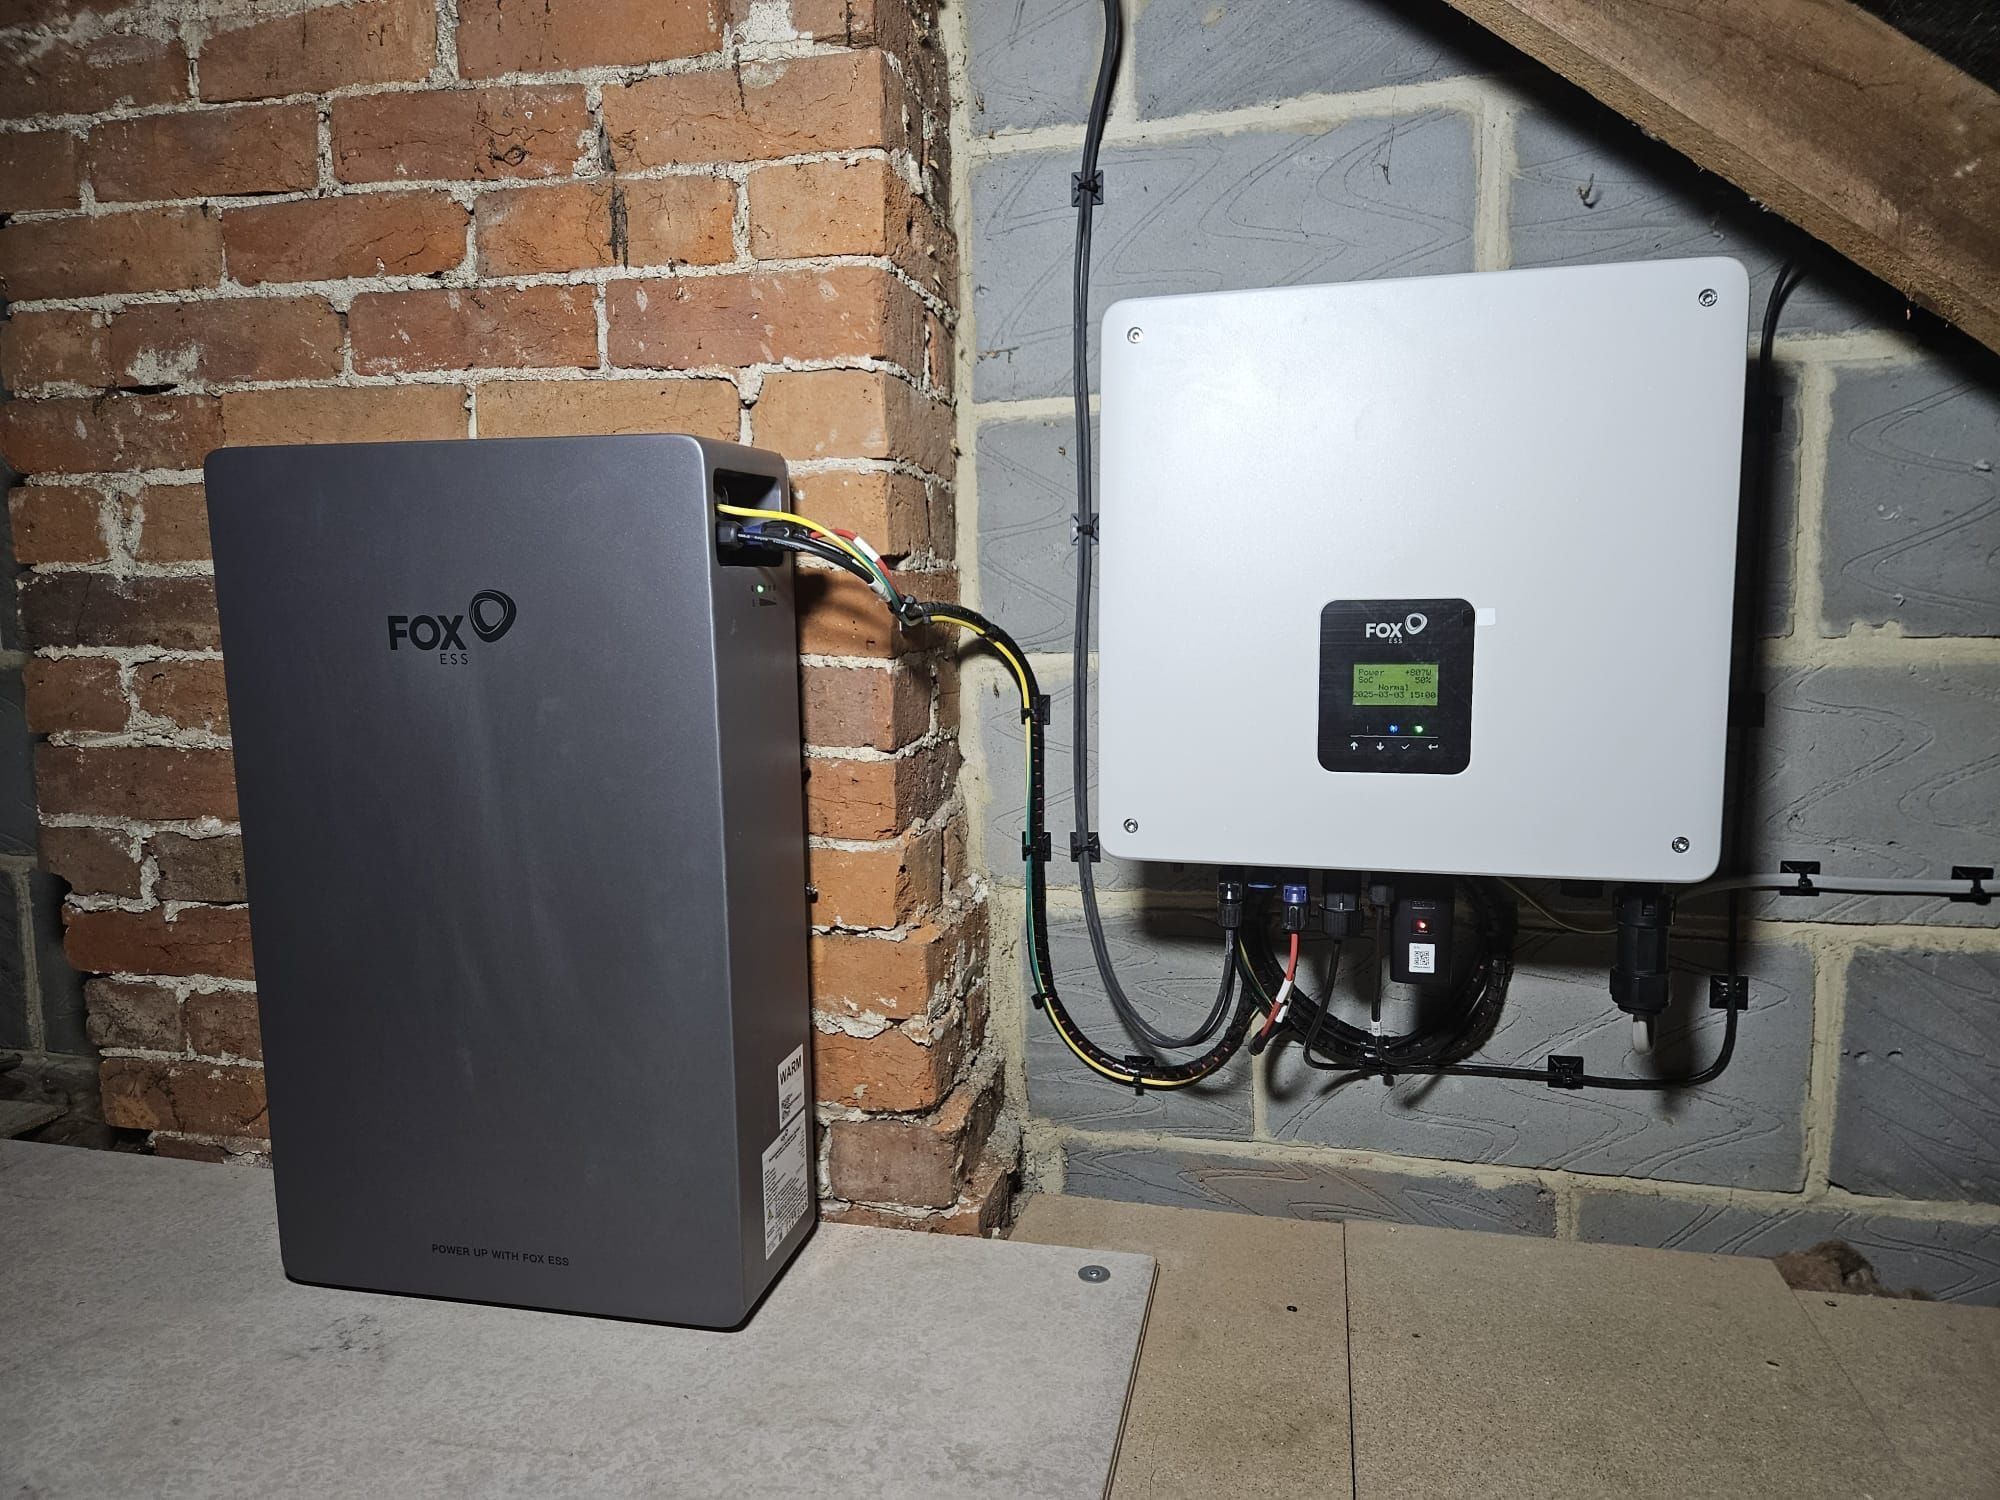
A Fox ESS battery and Fox ESS inverter installed in a boarded loft
Fox ESS, in the loft Battery on a boarded floor against the chimney breast, inverter fixed to the blockwork beside it. The kit lives in the roof space, not the hallway.
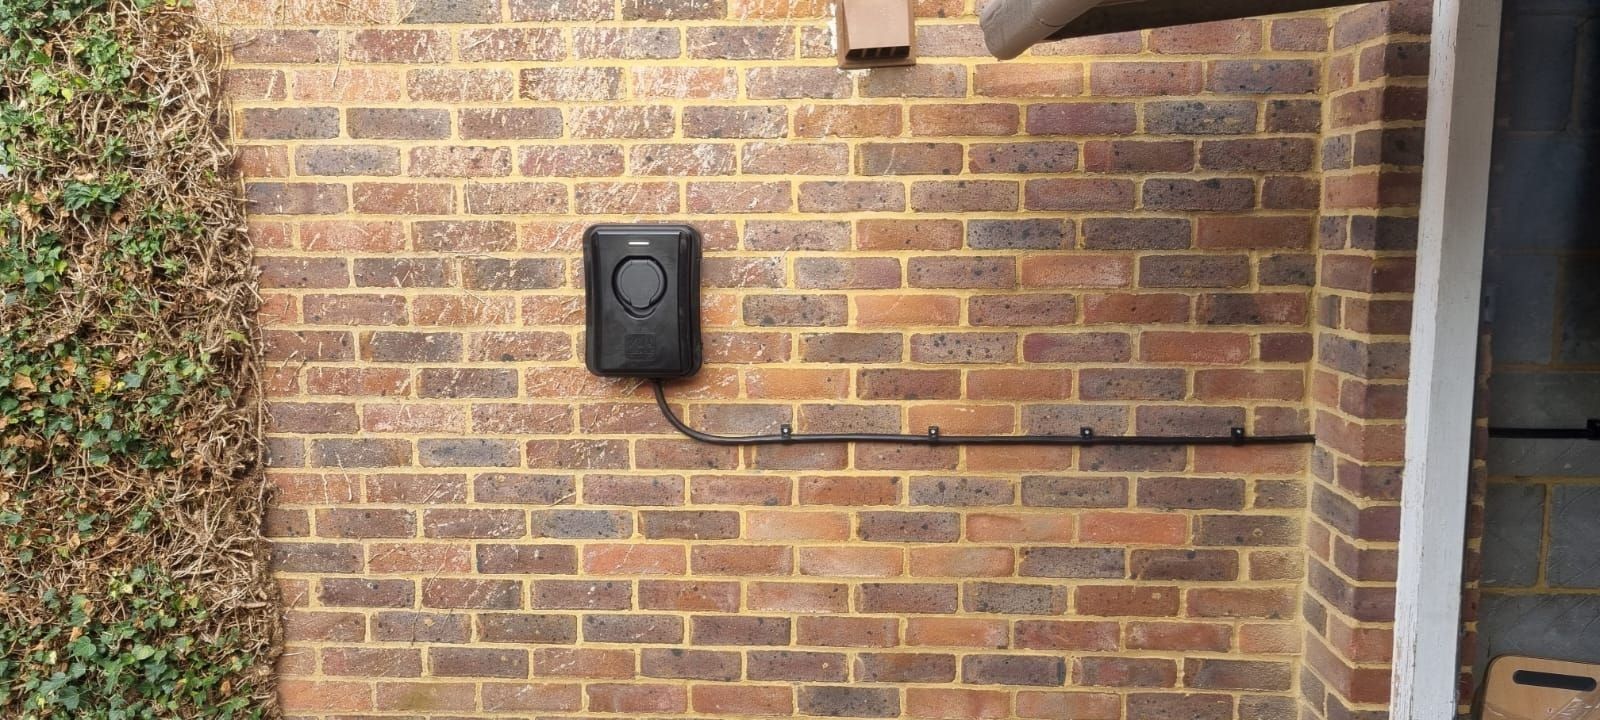
A home EV charger fitted to a brick wall, its cable clipped along the mortar line
Charger on an outside wall One cable, clipped straight along a mortar course to the unit. No trunking zig-zagging across the brickwork.
Rows of solar panels covering a commercial steel roof
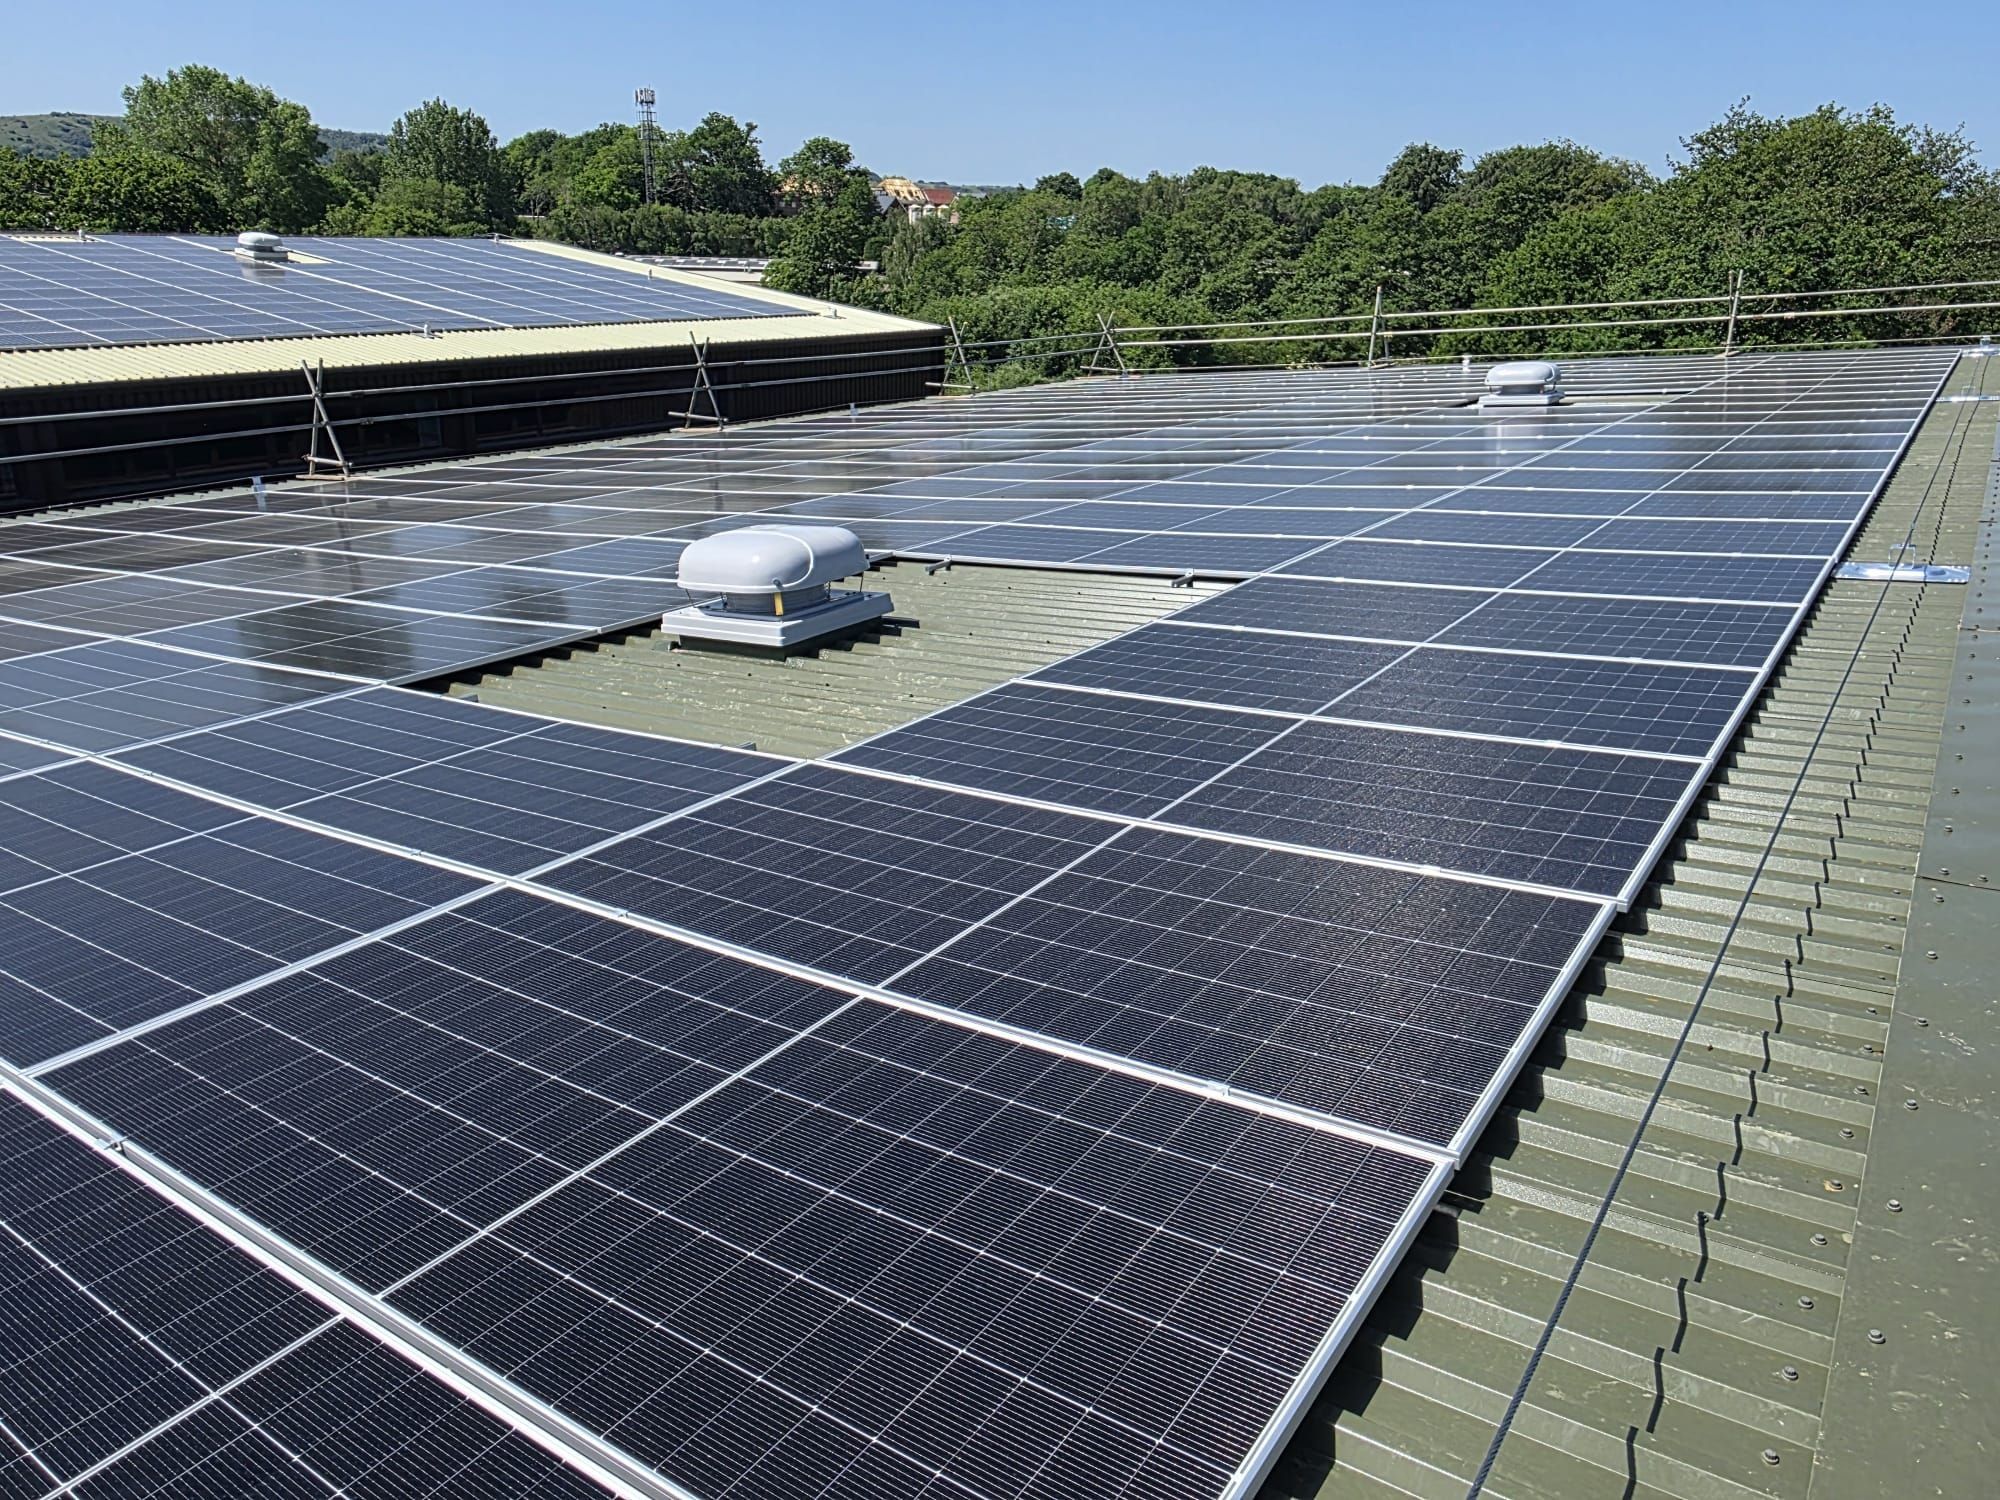
Commercial array, steel roof Rows run the length of the roof and stop short of the vents, with edge protection standing at the perimeter while the work goes on.
Solar arrays split into three runs around roof windows, seen from above
Arrays split around roof windows Three runs worked around the roof lights rather than over them. The roof sets the layout, and the drone view is where that gets decided.
Mounting brackets set out along a string line on a steel roof
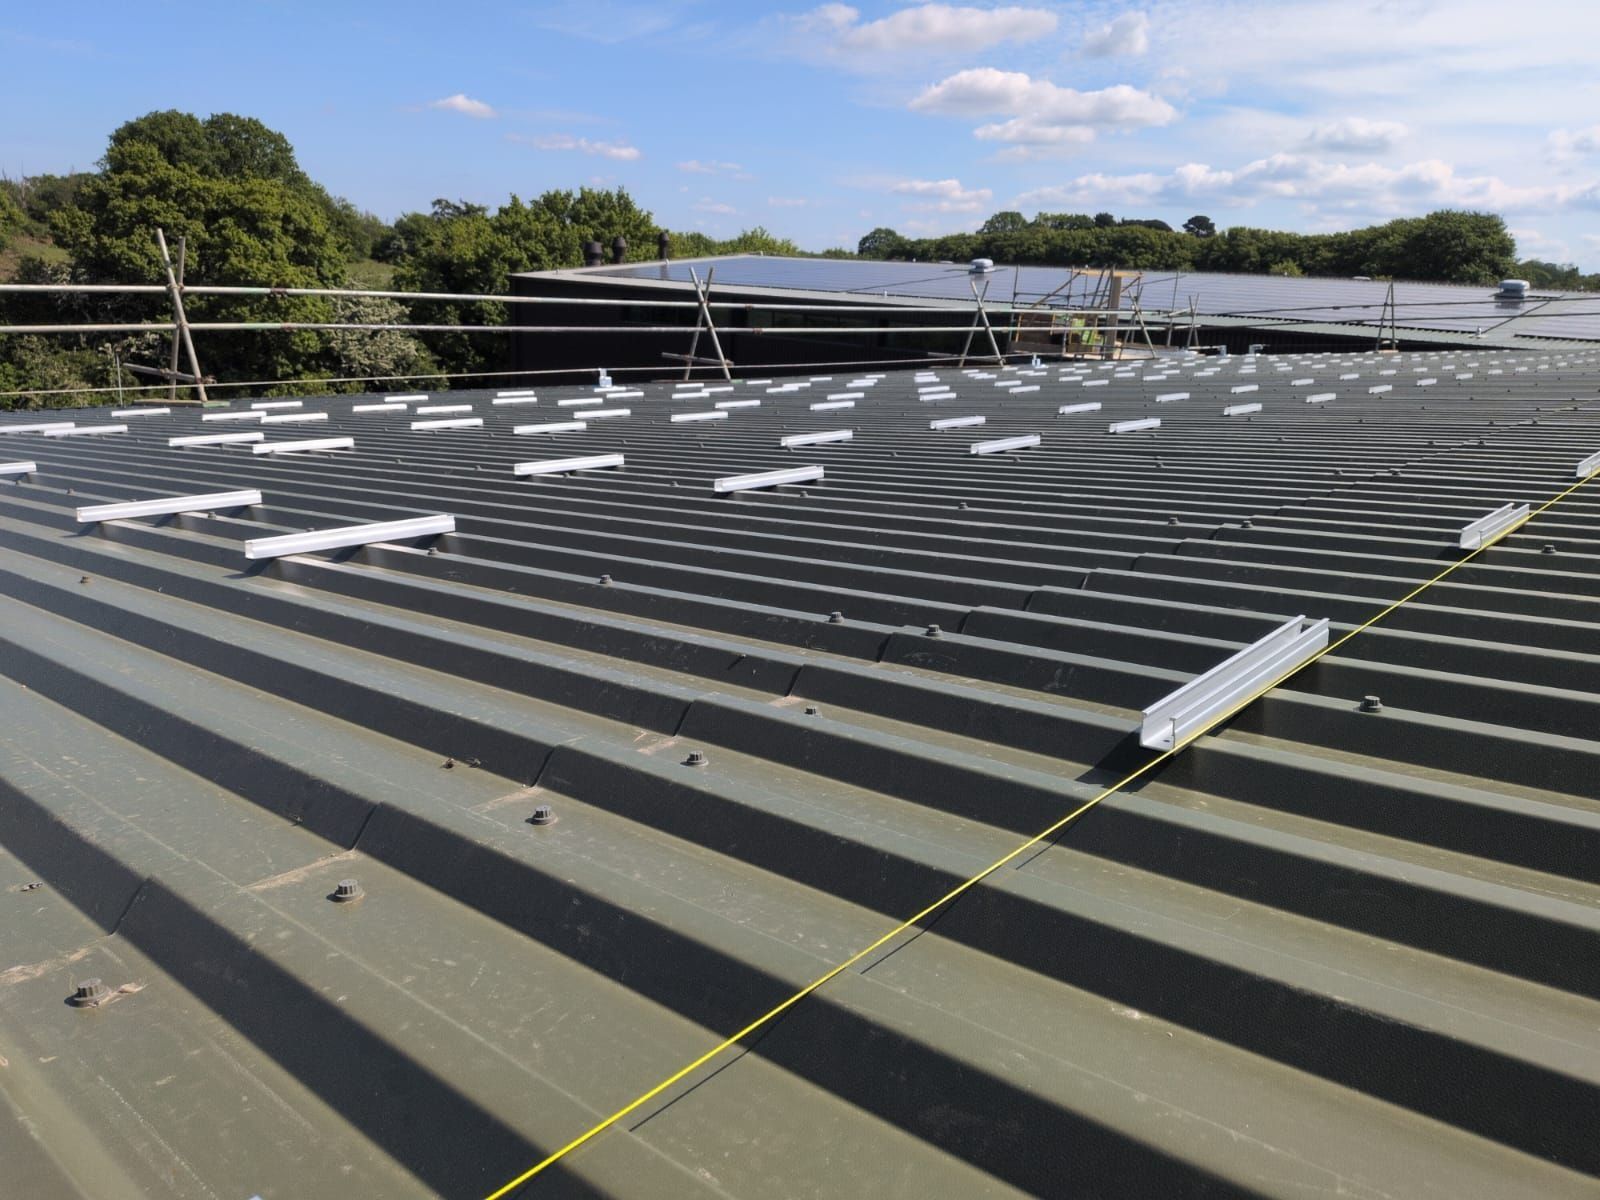
Setting out a steel roof A string line pulled tight before the rails go down. On a roof this size, straight rows start with the line, not the eye.
A new consumer unit with its cover off and every conductor terminated
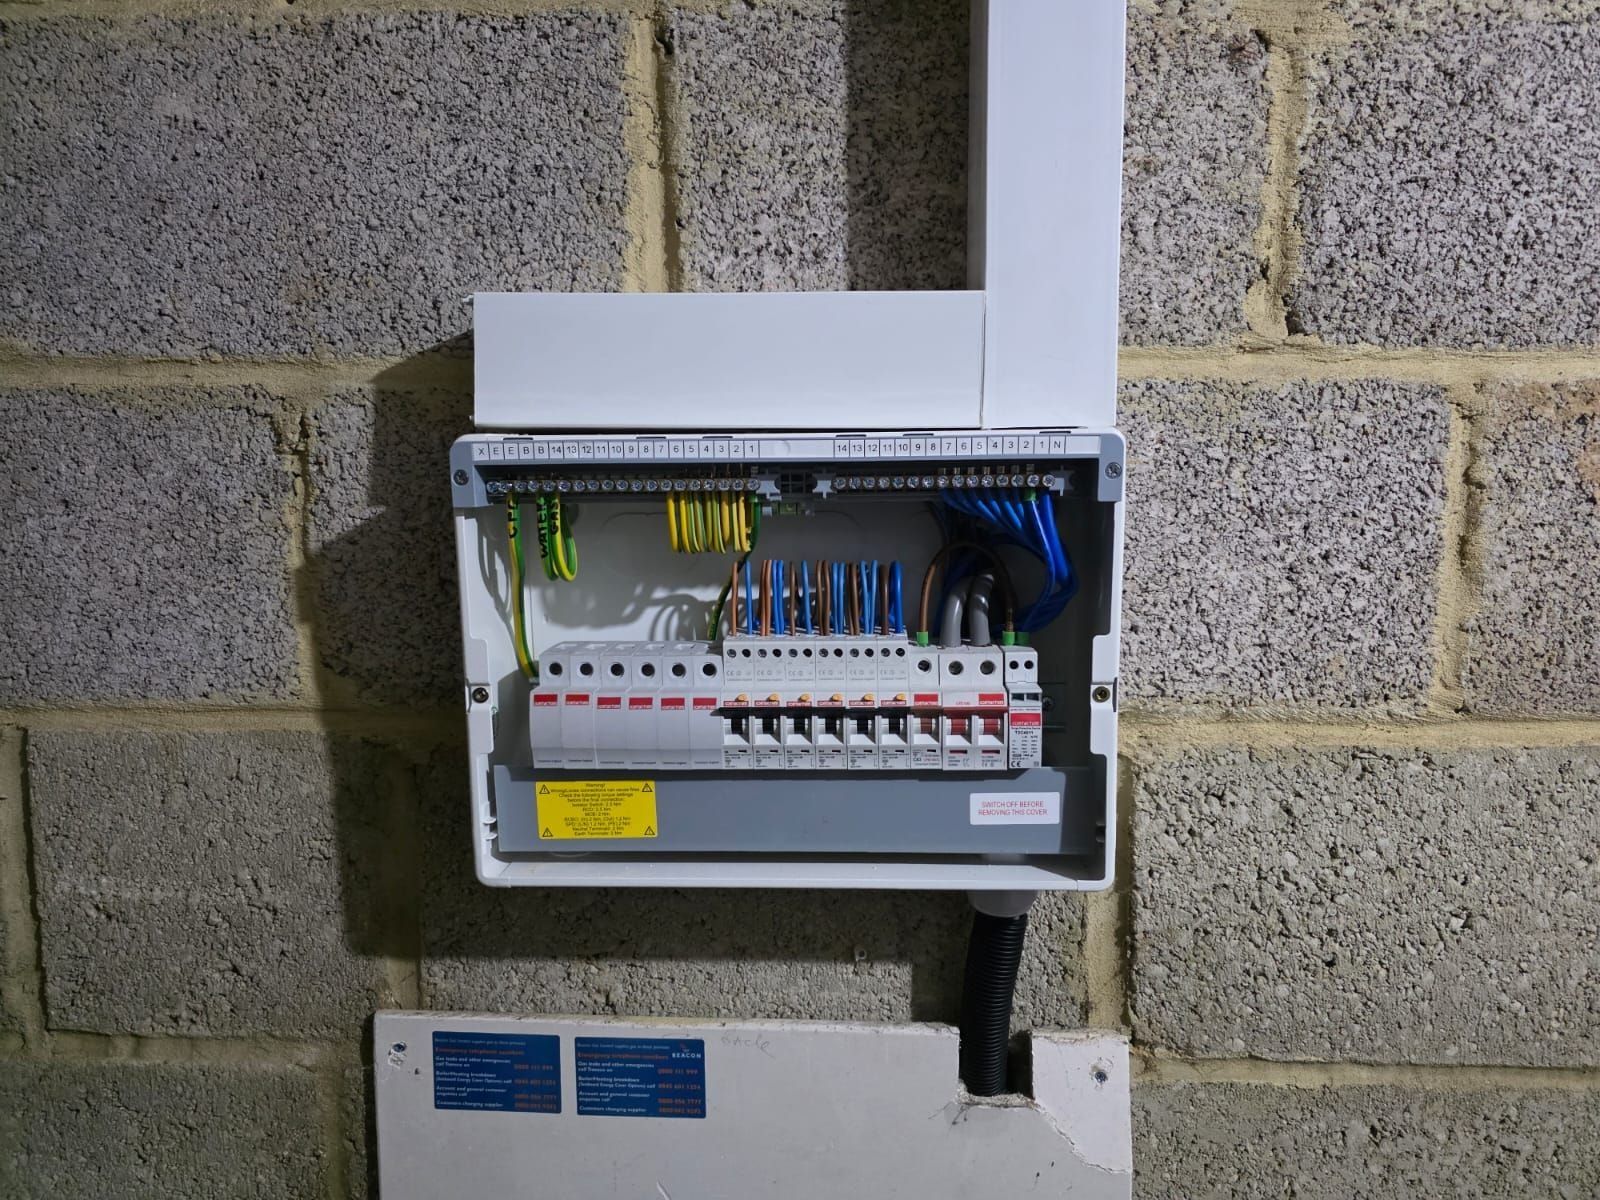
A new consumer unit, cover off Neutrals and earths landed in order and every conductor dressed before the cover goes on. It is the part nobody sees once the job is done.
Bird mesh fitted under the edge of an all-black array, shingle beach beyond
Bird mesh on a coastal roof Mesh clipped along the underside of the panel edge, closing the gap birds would otherwise get into.

Where these come from: our own website, social feeds and job photographs. They are installations of ours, photographed on the job — but we have not gone back and confirmed the detail of each one, so none of them is captioned as a specific completed job. No customer, address or town is identified in any caption on this page.

What you're looking at

Four things worth noticing

None of these costs a customer anything extra. All four are the difference between a system that works and a system that also looks like somebody cared on the day.

The panels are black, all the way through

Black frame, black backsheet. From the pavement it reads as a darker panel of roof rather than a grid of silver lines.

Why we default to it

The rows line up with the tiles

Arrays set out to the tile course, full rows, no orphan panels. It costs nothing but care on the day and it is most of why a finished job looks right.

How we design an array

The flat roofs have no fixings through them

Ballasted trays sit on the covering. Nothing is drilled through a flat roof, which is exactly what you want on a flat roof.

Flat-roof systems

There's mesh along the edges

Fitted while the scaffold is already up, clipped to the panel frame rather than screwed into the tiles. Pigeons find the gap under an array remarkably quickly.

Why we fit it as part of the job
Why the captions are so boring

Nothing on this page has a name on it, and that is on purpose

Most installer galleries read “4kW system, Mrs H, Findon, March”. Ours cannot, because we have not gone back and confirmed a single one of those details with the people who live in these houses — and a caption you have not checked is just a caption you made up.

So the captions say what the photograph shows and stop there. When a customer is happy to be named, and the job details have been checked with them, this page will say so and it will be obvious which ones those are. Until then you are looking at the work, honestly labelled, and you can judge it on that.

The same rule runs the whole site. The kit pages carry no capacity or warranty figures we cannot source. Every figure on this site is either one we publish ourselves, quoted whole, or a modelled number with its assumptions printed beside it.

  • No customer names Not one of these has been cleared with the householder, so not one of them names a householder.
  • No towns or addresses We cover a wide patch and we will tell you where — but not by pointing at somebody's roof.
  • No dates or system sizes We have no verified record of when these were fitted or what went on them, so we do not print either.
  • No stock photography Every frame above is ours. Where we have no photograph of something, that page uses a drawing and says so.

Want the work explained rather than photographed? Start with the services, how storage actually behaves, or where we get to.

The next step

Book your free survey

Thirty to forty-five minutes, at your house, at no cost. We look at the roof, the fuse board and how you actually use the place — then send you a clear quote with the assumptions shown.

If solar genuinely won’t pay for itself on your usage, we’ll say so and save us both an afternoon.

Rather see the numbers before you speak to anybody? Put your own bill on the house — it works out the size, the saving and the payback while you watch, and brings them down to this form with you.

Phone or email — whichever you'd rather we used.

So we can tell you straight away if you're in our patch.

What are you thinking about?

  • MCS certified · NICEIC Approved Contractor
  • The survey takes 30–45 minutes
  • A clear, no-pressure quote afterwards

A free survey, no obligation, and nobody reading a script at you. Prefer to talk? 01243 882444.

Call WhatsApp Book Survey
Book a free survey or call 01243 882444